4. Programming
-
Connect both atmel ice programmer and FTDI cable to the board and the laptop from which the programming will be uploaded.
-
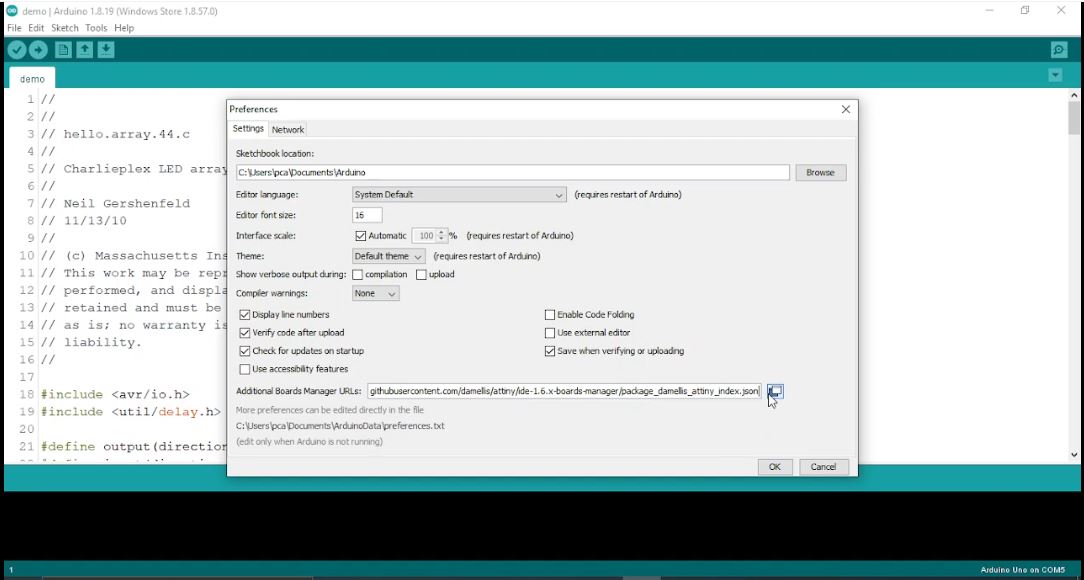
Open the arduino file given demo.io in Arduino ide and then add the additional boards package to read attiny44, by opening file menu clicking preferences. Paste this {link}(https://raw.githubusercontent.com/damellis/attiny/ide-1.6.x-boards-manager/package_damellis_attiny_index.json) in the additional boards manager url.
- To install it navigate to tools menu and then click on boards manager in boards drop down menu.
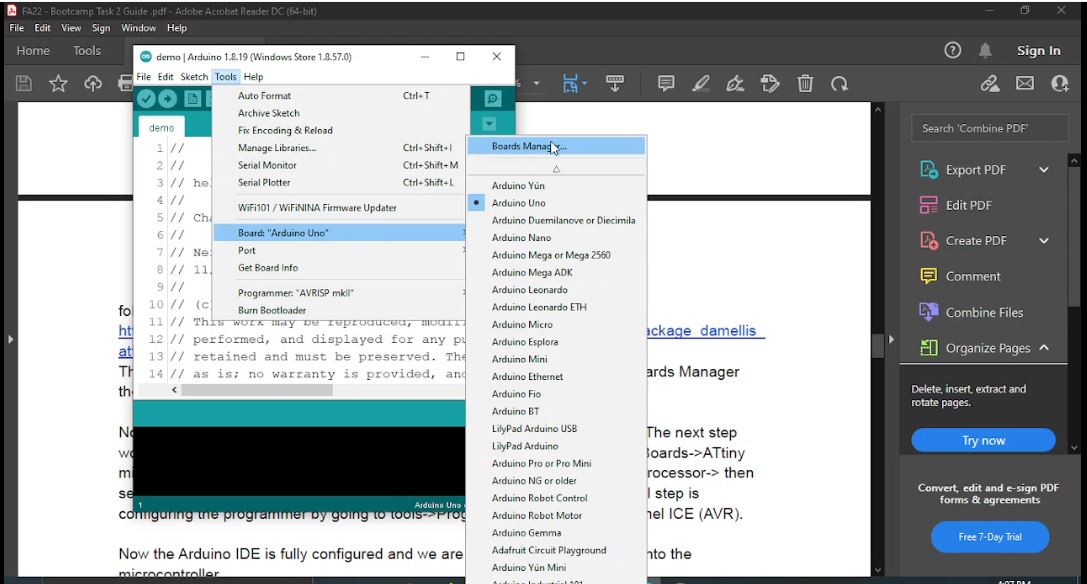
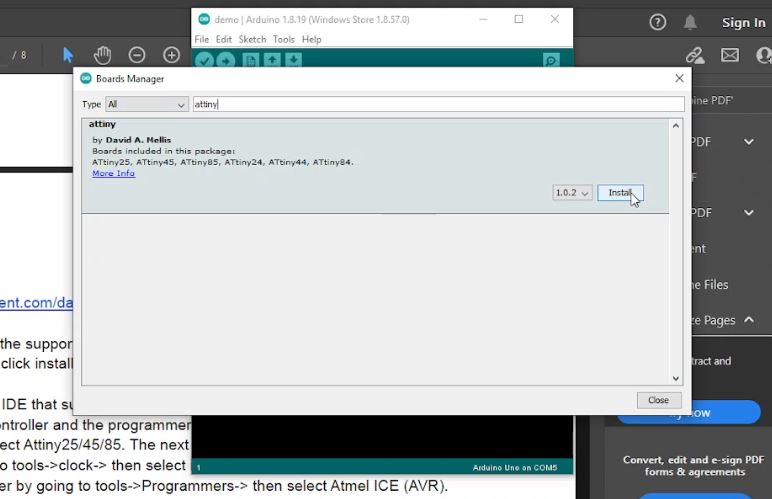
- Search for attiny and click on install on the first package visible.
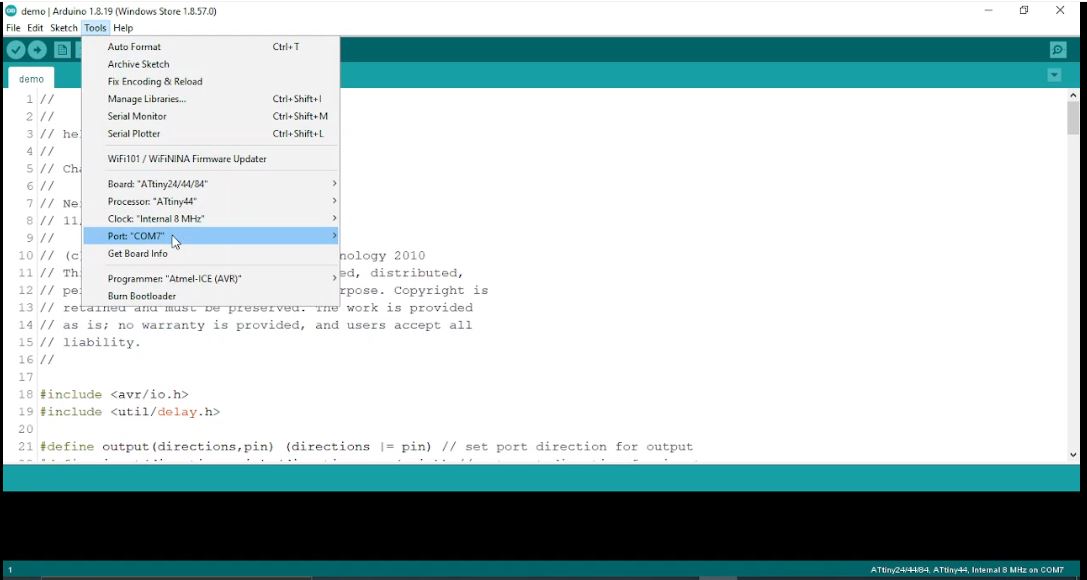
- Now to set up the controller and programming settings, Go to the tools menu, choose from Boards, ATtiny microcontrollers and then select Attiny25/45/85.
Another settings in tools menu, in processor and then select ATtiny45
Change also in clock to internal 8 MHz.
- Last but not the least, in the programmers drop down menu select Atmel ICE (AVR).
Do not select the com port
- Note make sure the driver for attiny is installed , by checking in the device manager. (driver) if not installed clickhere to install it.
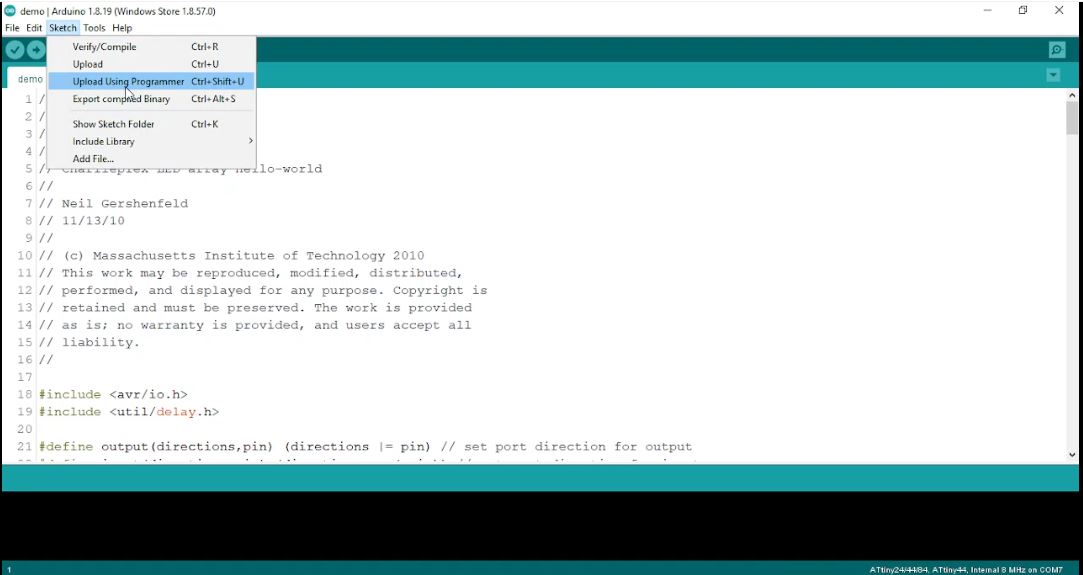
- Now upload the code by upload using programmer in the sketch menu.
Enjoy the victory!
- To activate the interface between the laptop and the pcb, comment and uncomment the lines shown.

-
Upload as previously described by using programmer option.
-
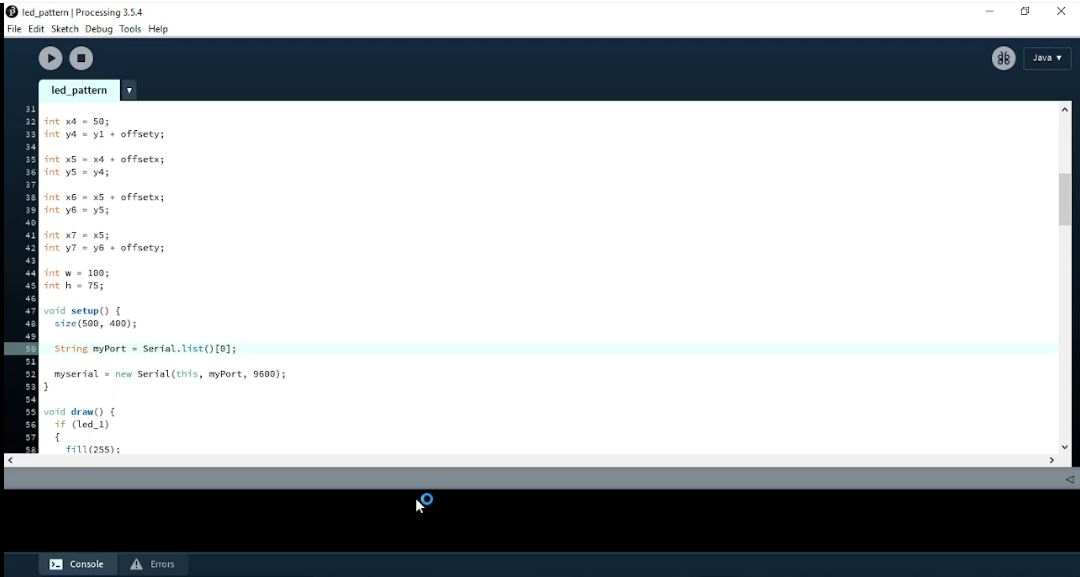
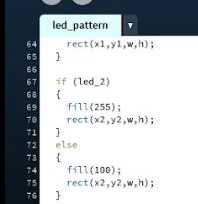
Now remove the programmer cable, open the processing application and open the file given led_pattern processing file.
-
Change the port serial 0/1/2/3 according to each laptop configuration. 2 was working for me.
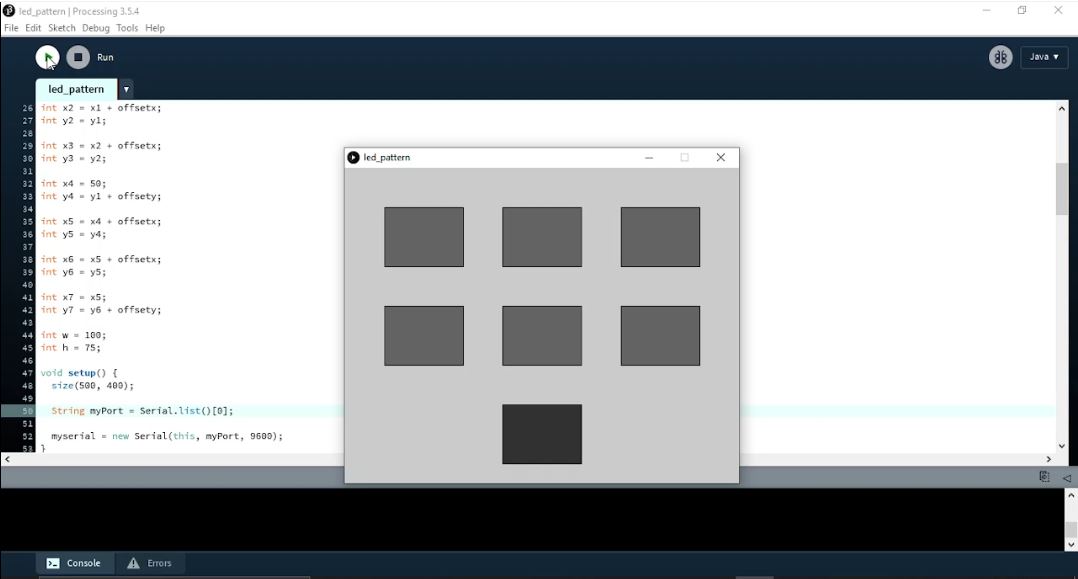
- Now click on Run.
- This is some description from the code….. Create an integer called w store in it 100.

- Also Implement the if else condition for the 2nd button.
Have fun!