1. Post Processing
It consists of 3 processes which have to be done after each other.
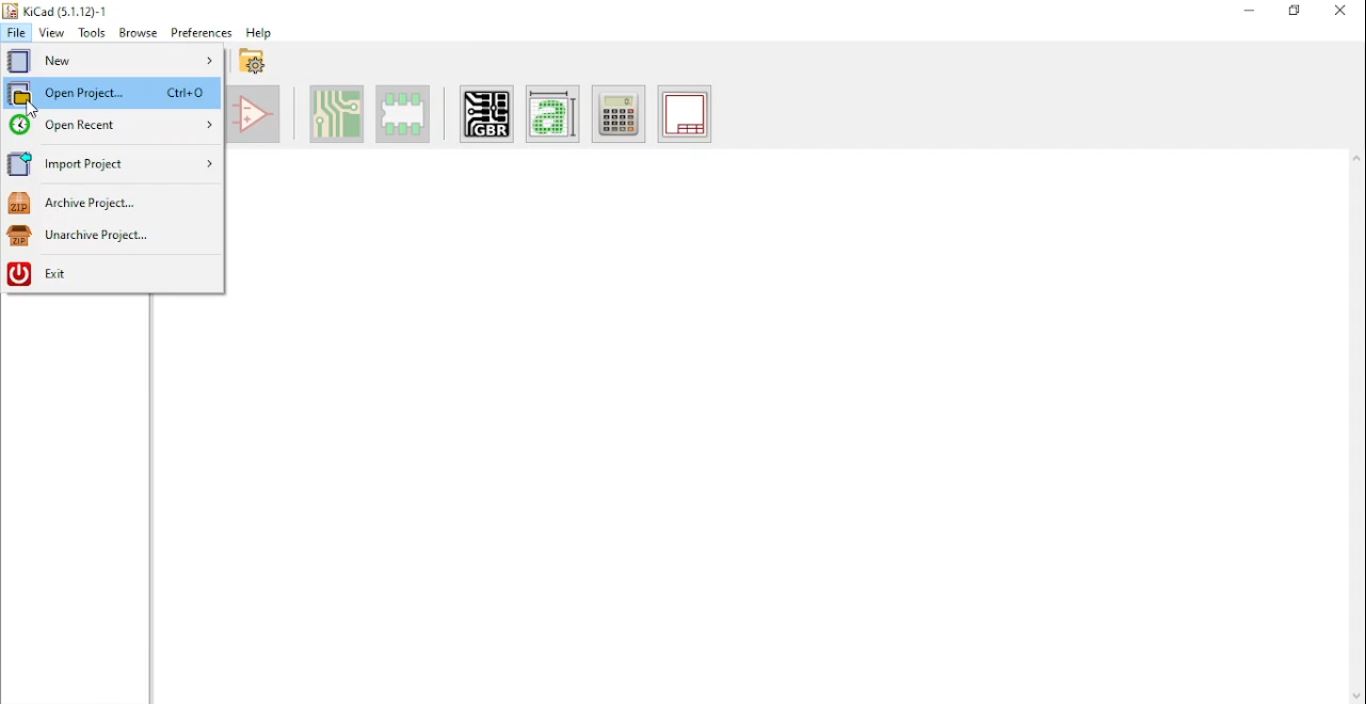
- Open KiCad , and select “open project” from the file tab.
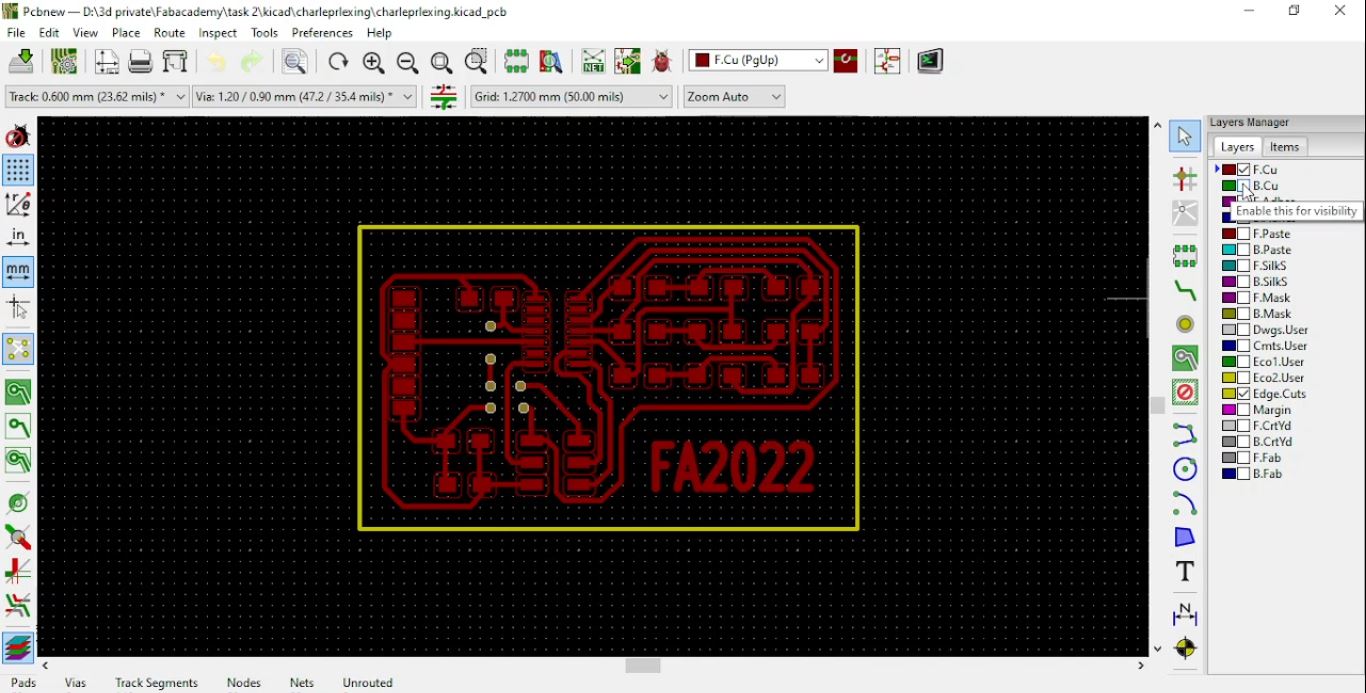
- In every project, there are many files included like schematics, PCB, library file and others. Which all can be seen on the left side of the window. Select the PCB file. Popup will appear for first timers asking about new footprint found. Go with the recommended settings or customize as per need.

- It should look like this, also enable or disable any layer from the right side check box.
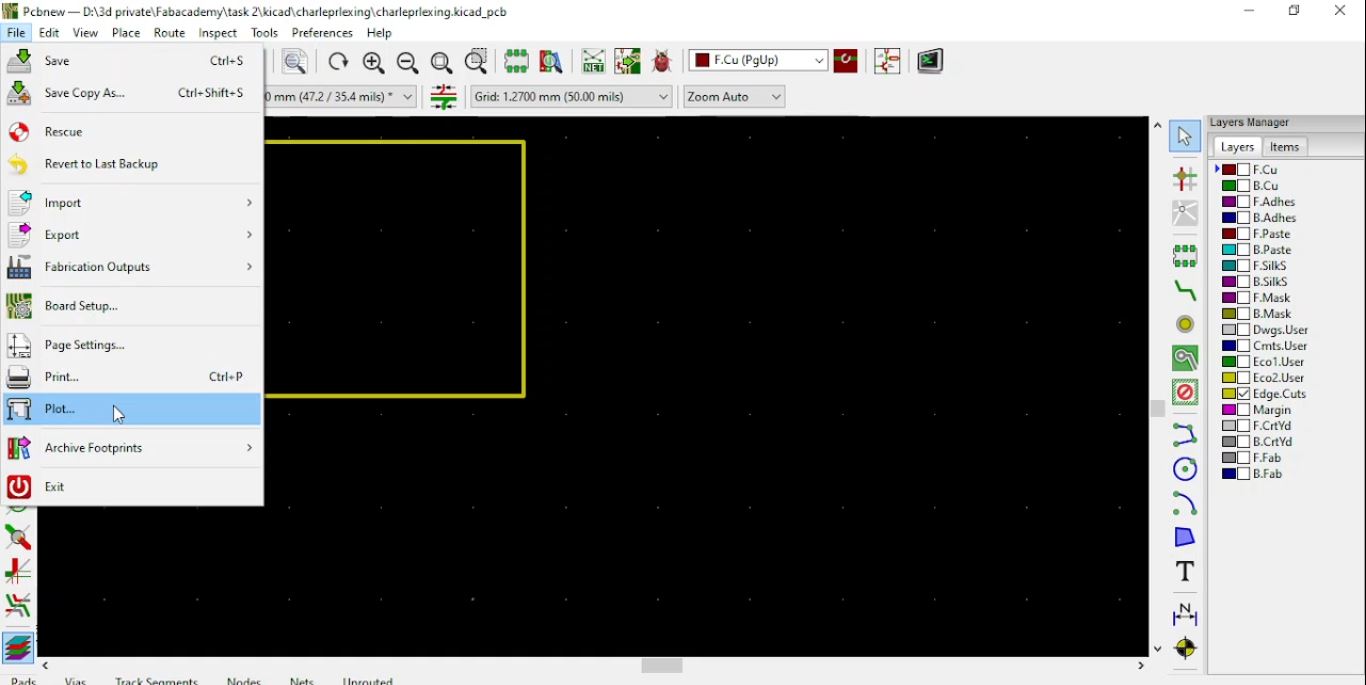
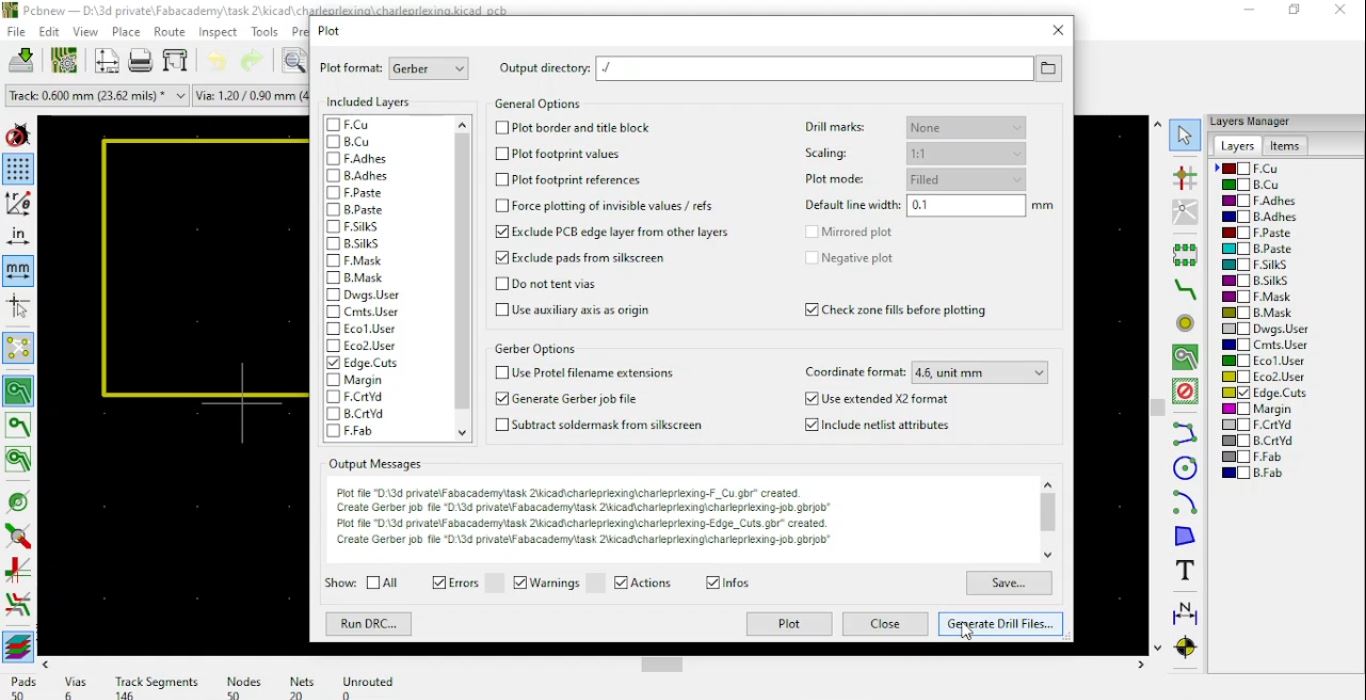
- Select Plot from the file menu.
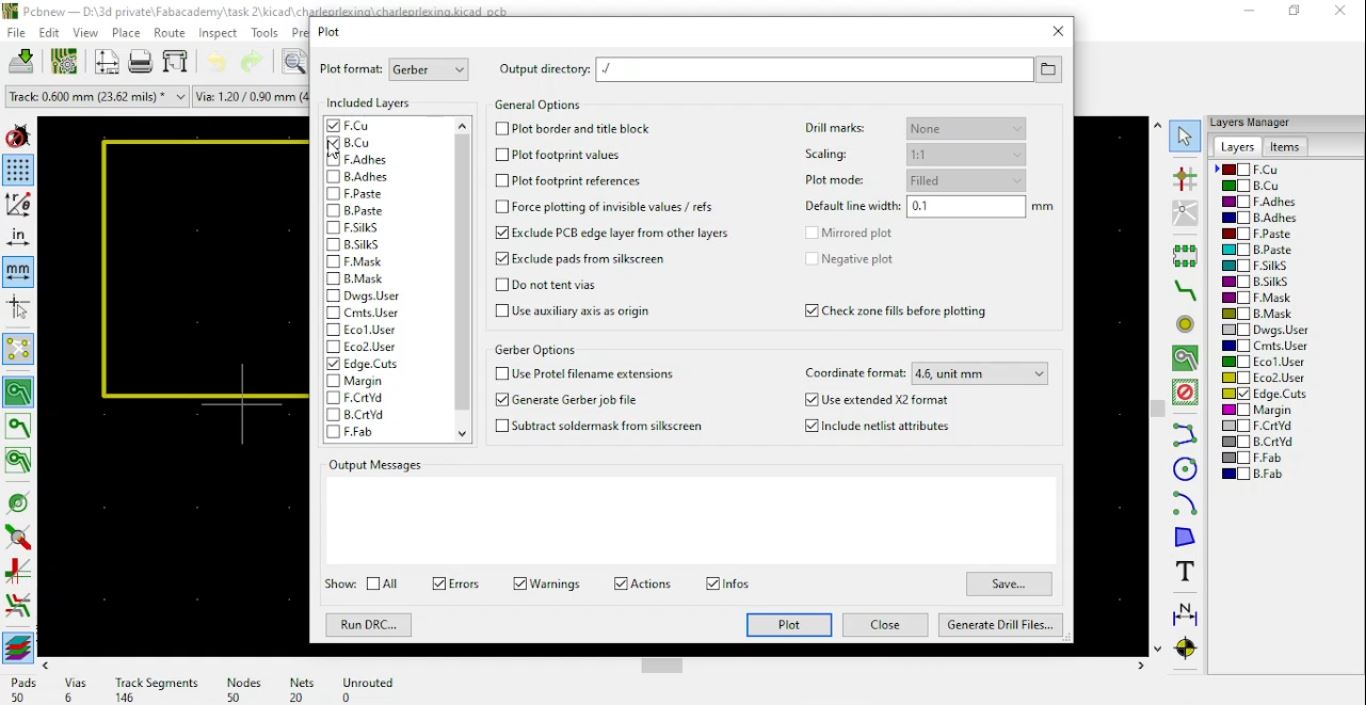
- Popup window will appear, make sure to choose gerber in plot format, and choose layers desired from included layers. Uncheck all layers and choose only the top layer which is named in this project f.cu and edge.cuts to export the top layer with its profile border line (to keep its size symmetric with other files). Then Click on plot.
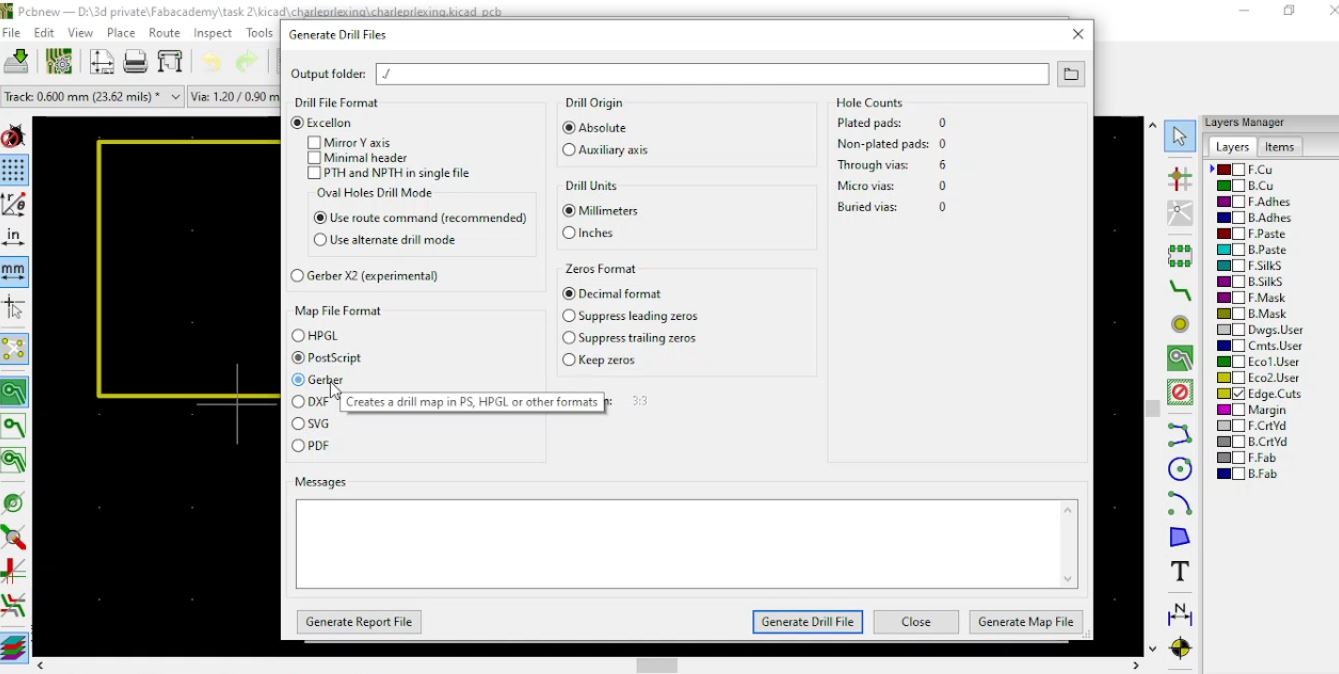
- As for the drill file, Select Generate drill files.
- Check on Gerber in map file format and other settings like measurement in millimeters. Then click Generate drill files.
-
Finally check for every layer saved, hence here saved 2 files.
-
Congratulations first process its done
- First step: open Gerbv application, Select open layers from the file menu.
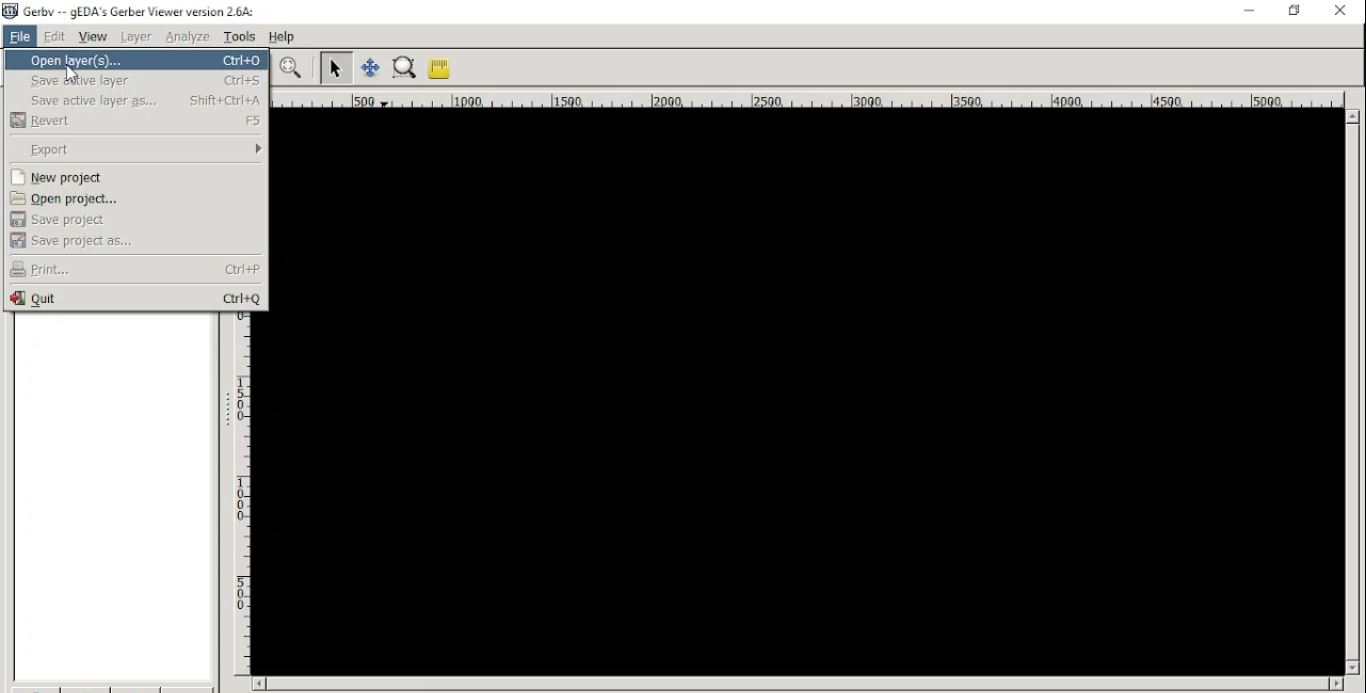
- Choose the location of the files exported in the previous process and select them to open. The layers will be found in the layer tab on the left side of the window.
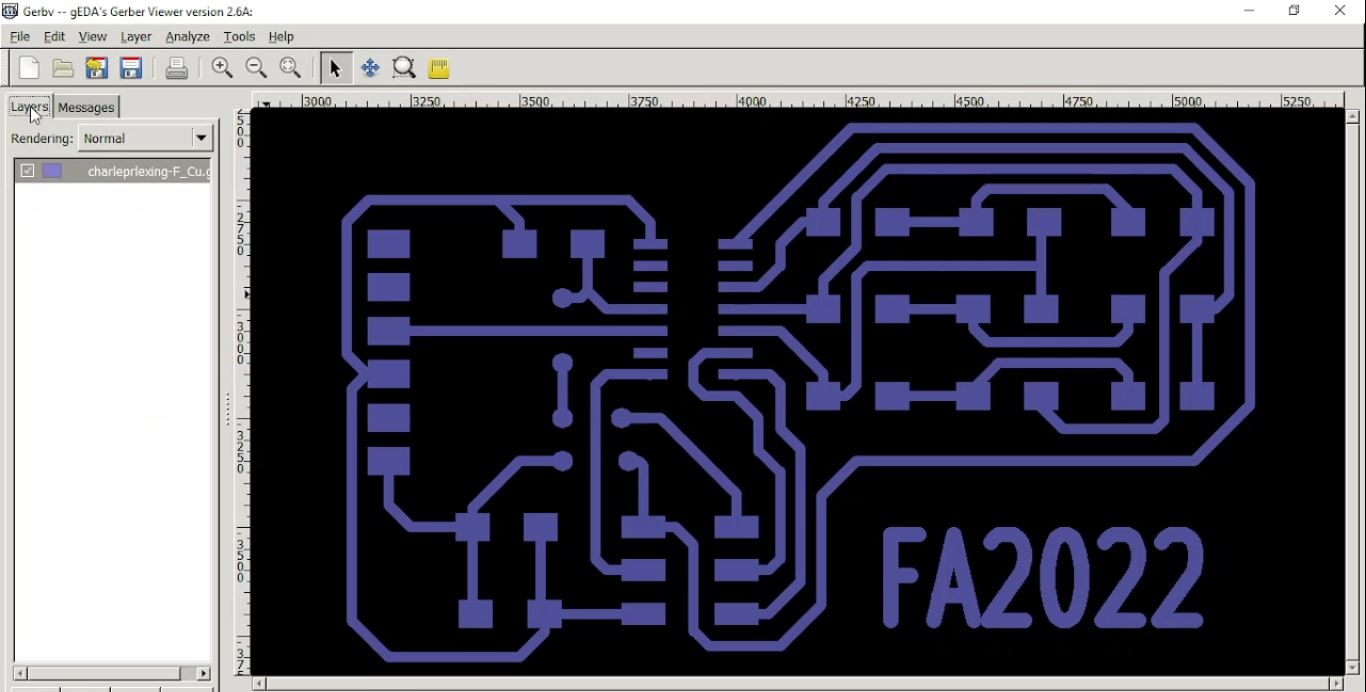
- Select each layer as referred in the previous process, and then click file and then select PDF from the export drop down menu.
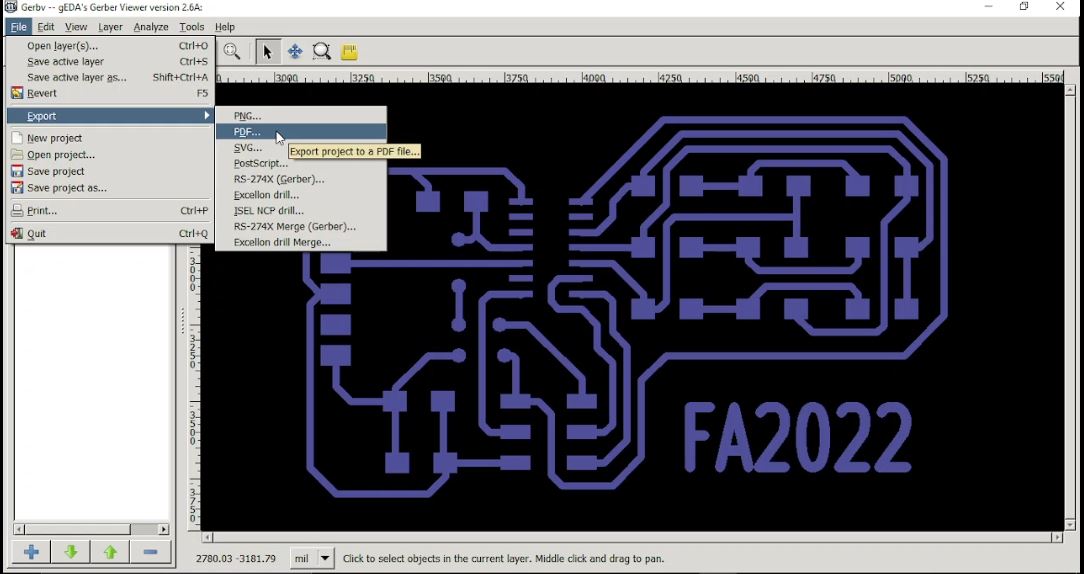
Make sure to save it in a known location with a familiar name and don’t forget to add after the name .PDF for securing file format. Recommend to create a new folder with name “prefinal” as the final will be the 3rd process.
Now be prepared for the final process.
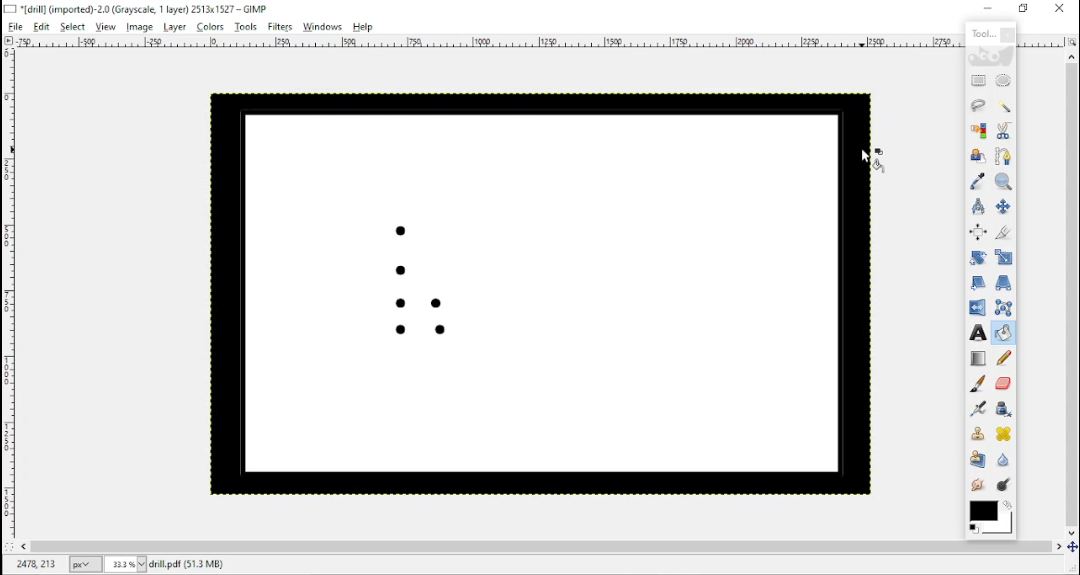
- In the final process, open GIMP application, then as before select open from the File tab.
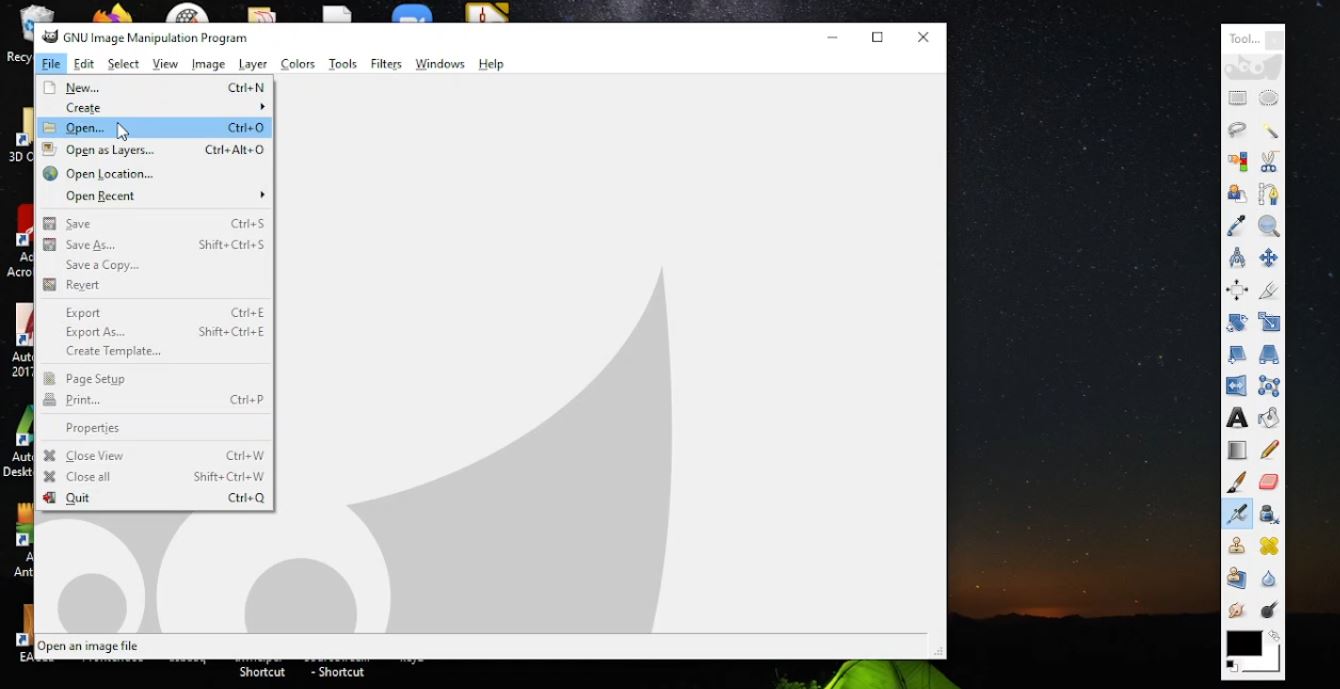
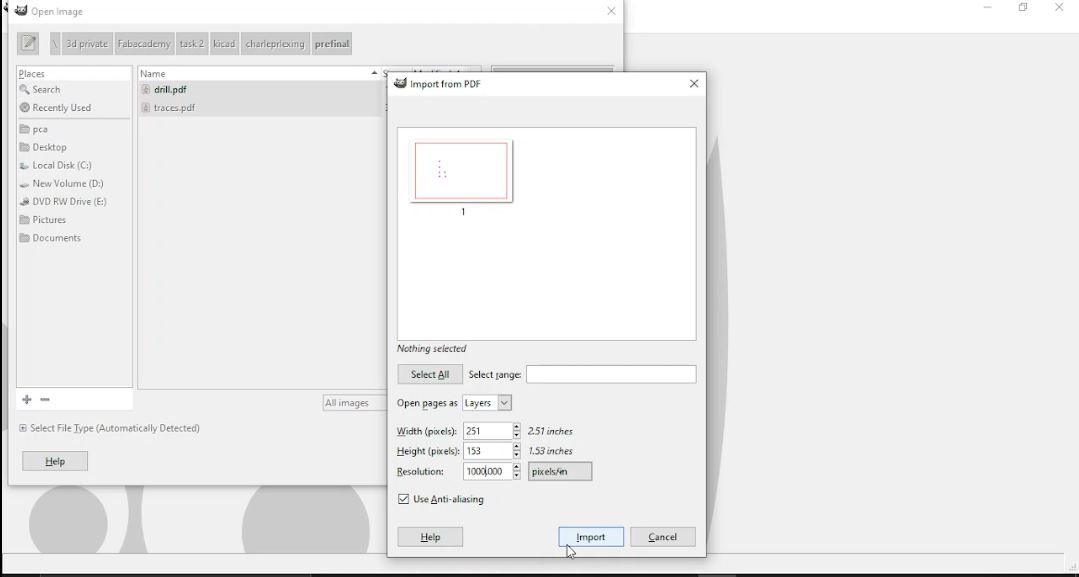
- Navigate to prefinal folder and then choose any layer (from this point on every step will be done again for the other layer). Popup window will appear, change the resolution to 1000 dpi (very important remember the count it will be needed in the future). then finally select Import.
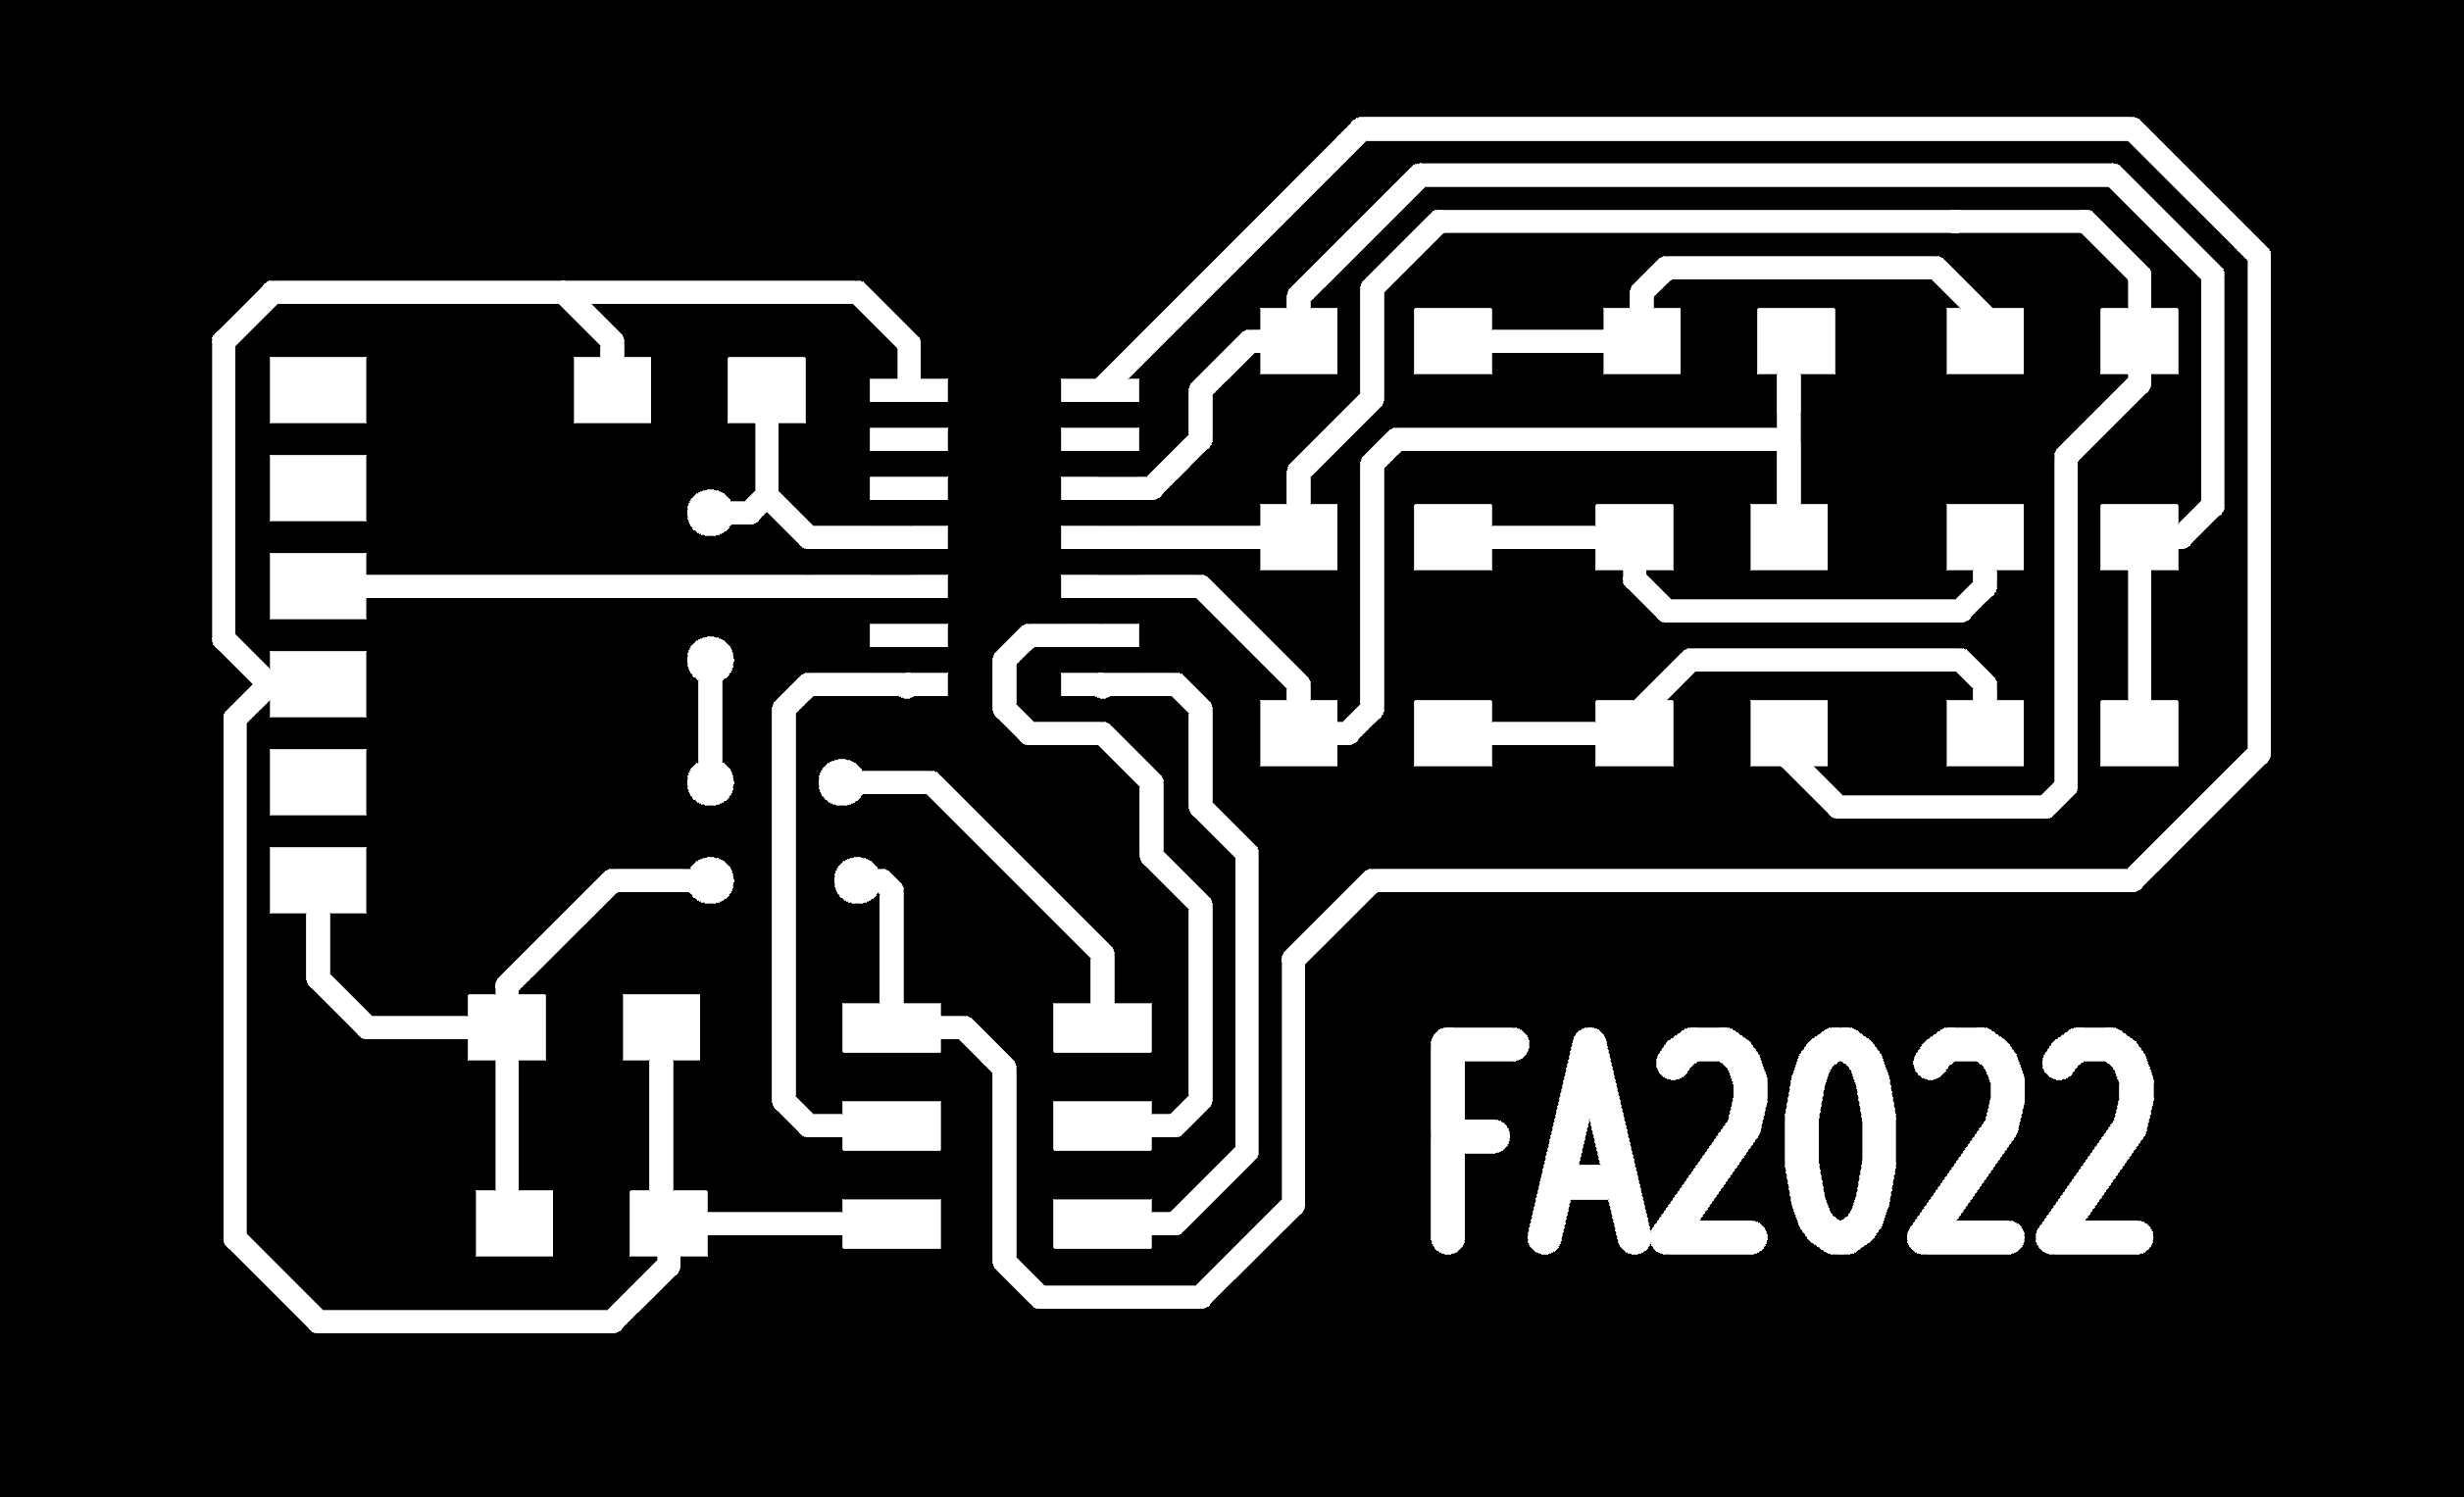
- From the toolbar, select the Fill icon and check if the black color is selected on the bottom of the toolbar. In the drill files, color every holes with black color and the outline border also and keep the medium between only white color.
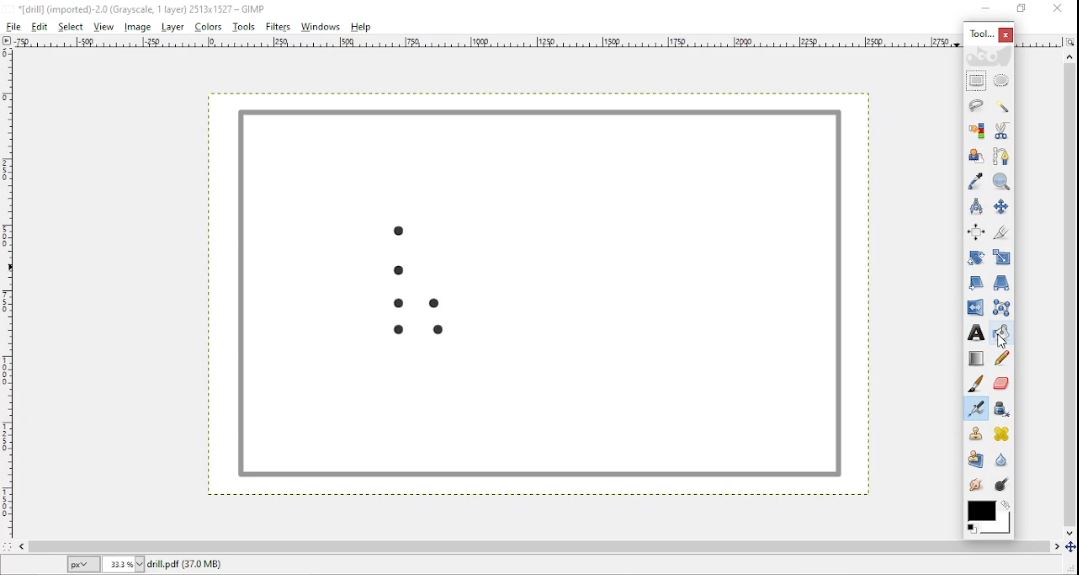
- It will finally look like this.
- Note: when repeating the same process for the other trace layer file, keep the traces in white color and everything else black.
- To Export the file, go to file select Export as. Reminder to create a new folder with the name of “Final”.
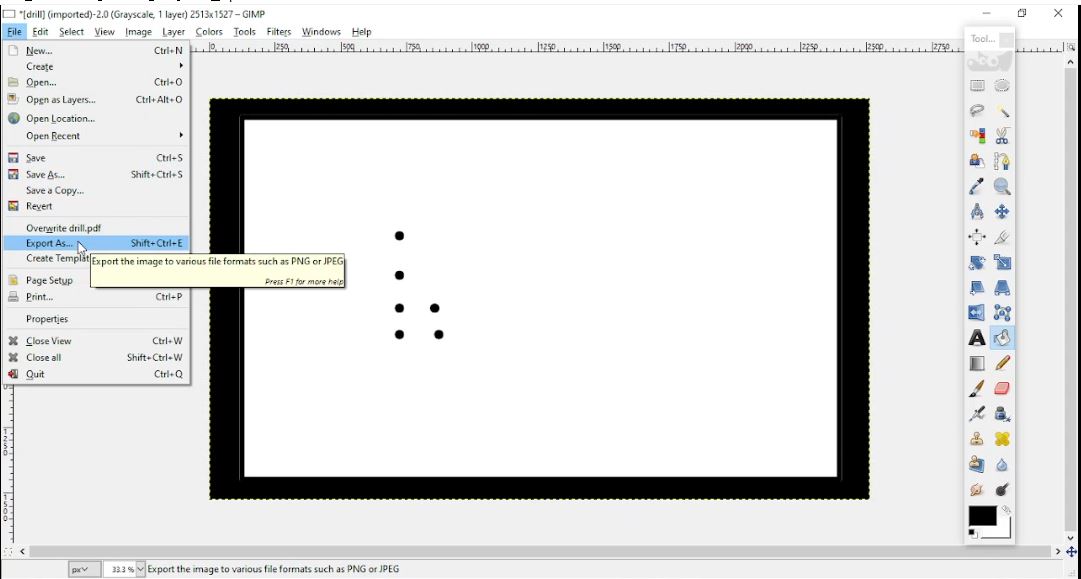
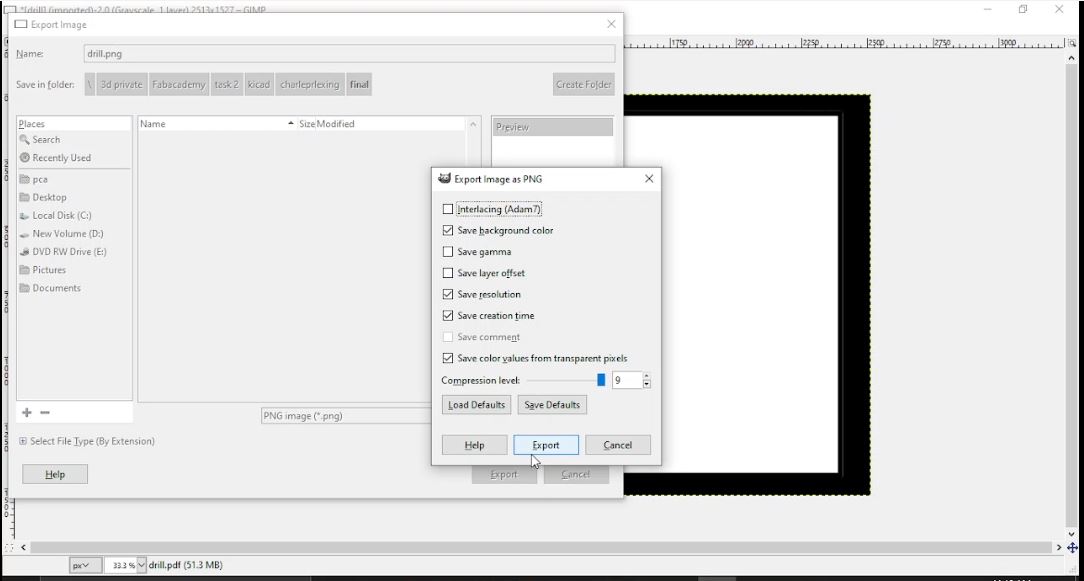
- In the popup window, change the file format into PNG in both: name and Select file type drop down menu. Then click Export. Another small popup window will appear, select Export again.
Hooray, It’s all done now let’s move to the fun part.