Task 1
Git and gitlab
Git is officially defined as a distributed version control system (VCS). It is free and open-source software and primarily used via the command-line interface, which we can access with our system terminals. In other words, it’s a system that tracks changes to our project files over time. It enables us to record project changes and go back to a specific version of the tracked files, at any given point in time. This system can be used by many people to efficiently work together and collaborate on team projects, where each developer can have their own version of the project, distributed on their computer. Later on, these individual versions of the project can be merged and adapted into the main version of the project.
We can single out two major types of Git repositories:
A Git repository is a container for a project that is tracked by Git.
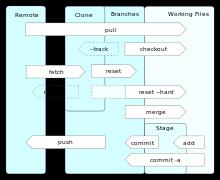
- Local repository - an isolated repository stored on your own computer, where you can work on the local version of your project.
- Remote repository - generally stored outside of your isolated local system, usually on a remote server. It’s especially useful when working in teams - this is the place where you can share your project code, see other people’s code and integrate it into your local version of the project, and also push your changes to the remote repository.
Git has two data structures: a mutable index (also called stage or cache) that caches information about the working directory and the next revision to be committed; and an immutable, append-only object database.
The index serves as a connection point between the object database and the working tree.
The object database contains five types of objects:
- A blob (binary large object) is the content of a file. Blobs have no proper file name, time stamps, or other metadata (A blob’s name internally is a hash of its content). In git each blob is a version of a file, it holds the file’s data.
- A tree object is the equivalent of a directory. It contains a list of file names, each with some type bits and a reference to a blob or tree object that is that file, symbolic link, or directory’s contents. These objects are a snapshot of the source tree. (In whole, this comprises a Merkle tree, meaning that only a single hash for the root tree is sufficient and actually used in commits to precisely pinpoint to the exact state of whole tree structures of any number of sub-directories and files.)
- A commit object links tree objects together into history. It contains the name of a tree object (of the top-level source directory), a timestamp, a log message, and the names of zero or more parent commit objects.
- A tag object is a container that contains a reference to another object and can hold added meta-data related to another object. Most commonly, it is used to store a digital signature of a commit object corresponding to a particular release of the data being tracked by Git.
- A packfile object is a zlib version compressed of various other objects for compactness and ease of transport over network protocols.
To know more about Git see this video, or click here and here
Before creating a new project, I had done some setups to save time and effort..
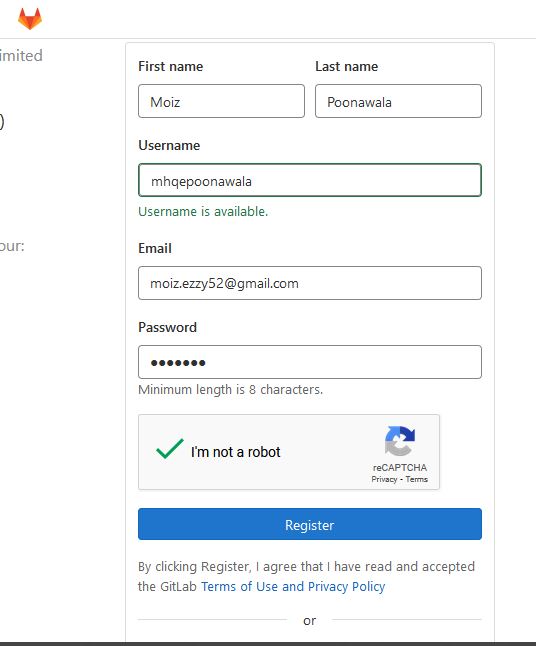
A- Created Gitlab account
- So i opened its website and registered myself with all the information needed.
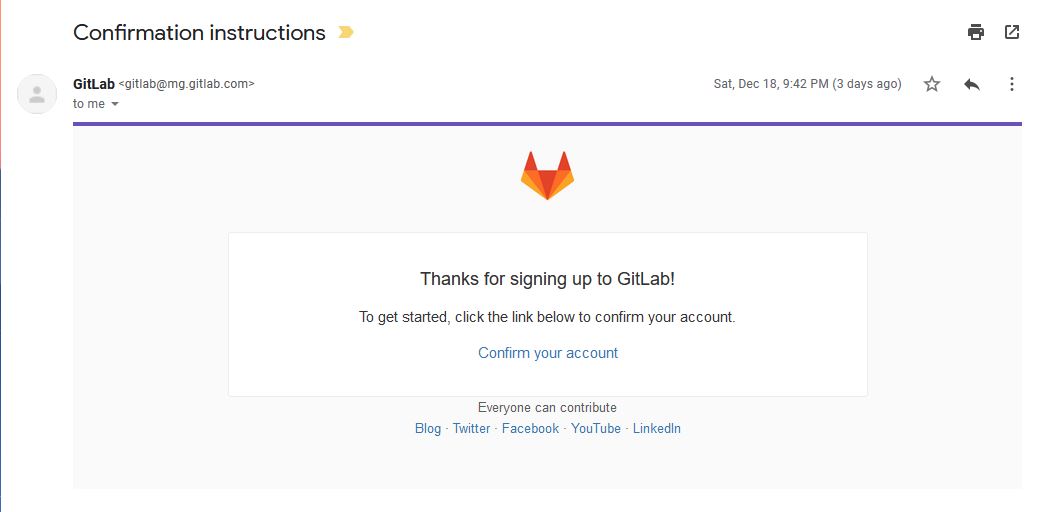
- Confirmed gitlab account via email. Then completed registration by adding personal profile information.
Good for now then moved to another setup.
B- Notepad version 7.5 was needed and a markdown plugin.
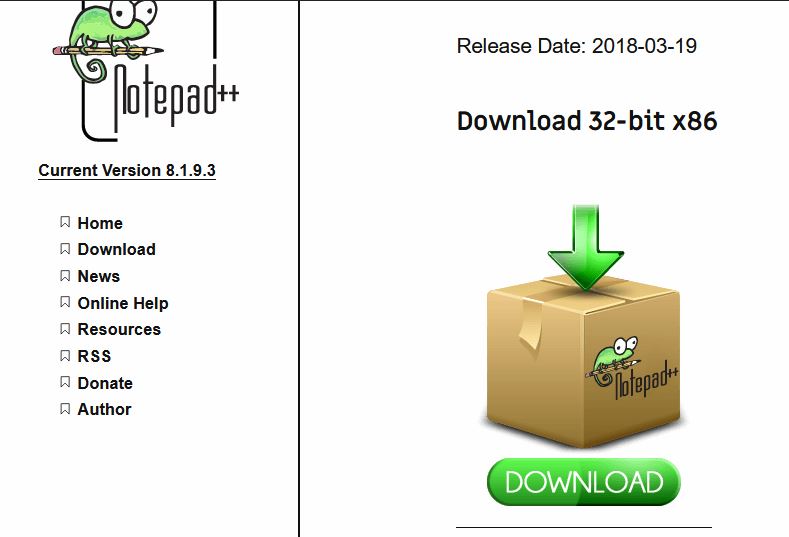
- Surprisingly I had it installed before, so I didn’t have to do it again. But for those who haven’t got it please follow these steps. Open this link and choose the suitable package to download for your PC or laptop. After downloading it, install it by opening the setup file, it goes through the wizard until it finishes installing.
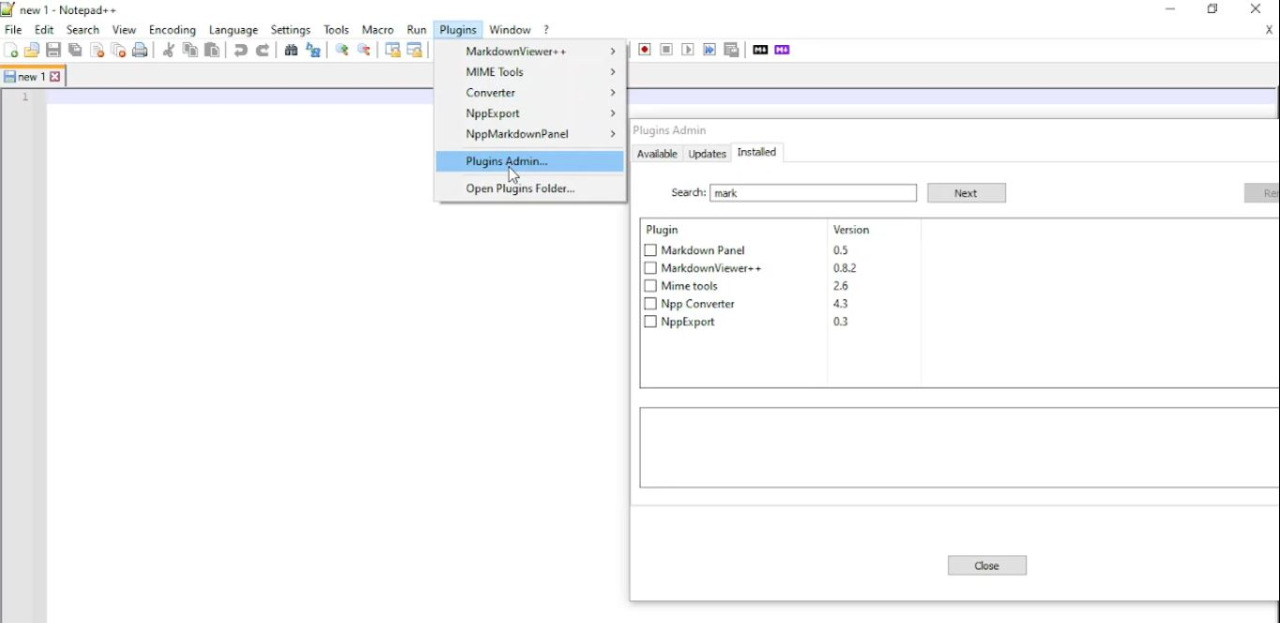
- To add the plugin, I did it by clicking on the plugin drop down menu on the top bar then clicking on Plugin admin… and then finding the markdown viewer from the search bar then clicking on install.
Now for the good part!.
C- Downloaded Source tree application
- Opened its website and chose to download the Windows version. Agreed to their terms and policies by checking the box, then finally clicking download.
- After completing downloading, I opened the setup file to install it on my laptop.it will run through the install wizard which will ask for a bitbucket account or ssh keys… etc, I skipped it all to finish my installation.
The most important step, generating ssh keys from which local and remote repositories will identify each other.
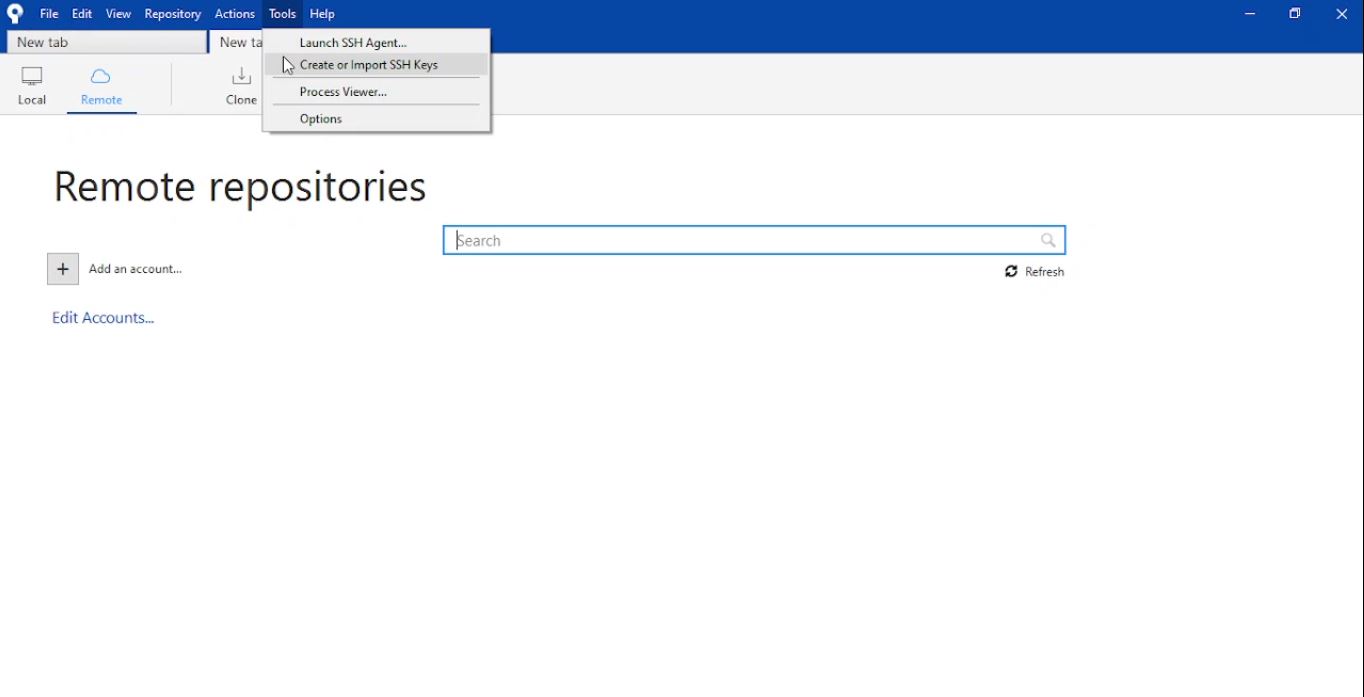
- Open SourceTree then from tools choose create or import SSH keys option.
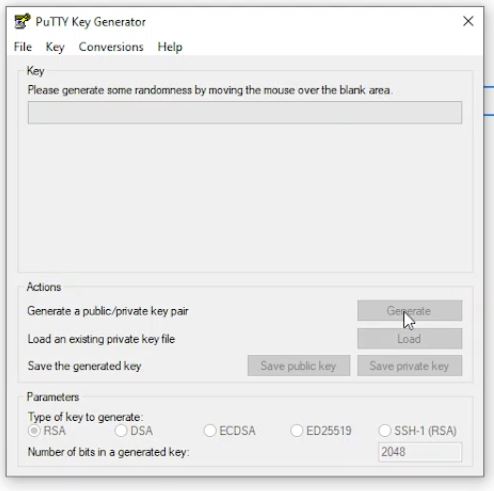
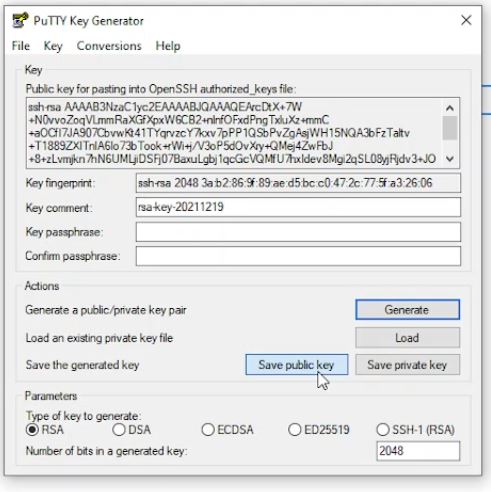
- Click on the generate tab and start following instructions to move the mouse in the black area.
- Once keys are generated, copy the public key or click on save public key to a known location. Also the private key.
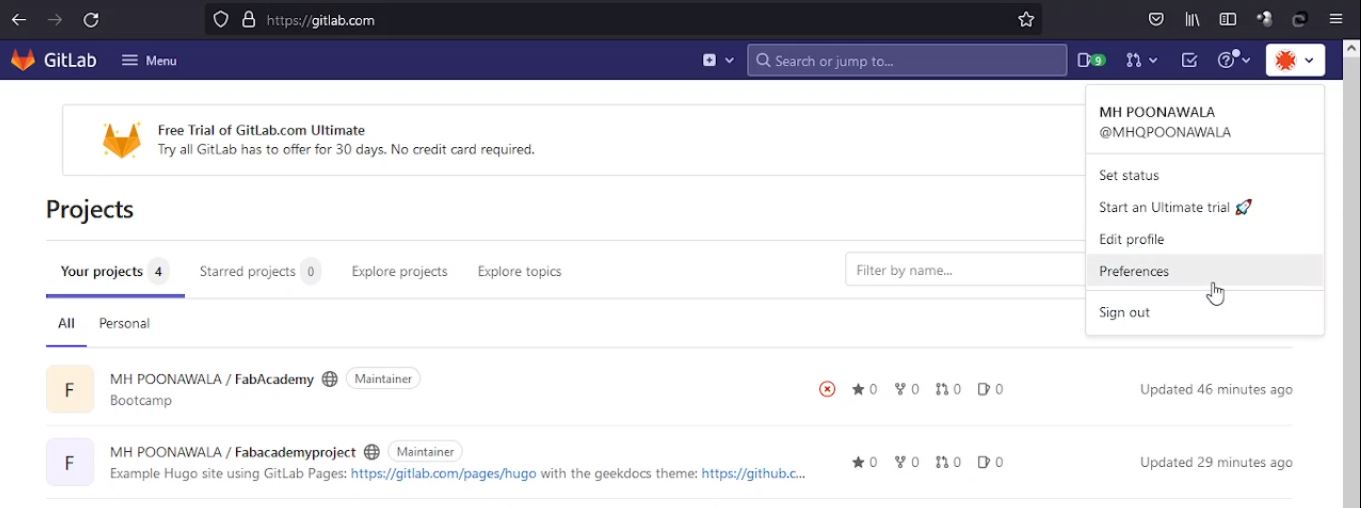
- In your gitlab account go to general settings by clicking on preferences in drop down menu
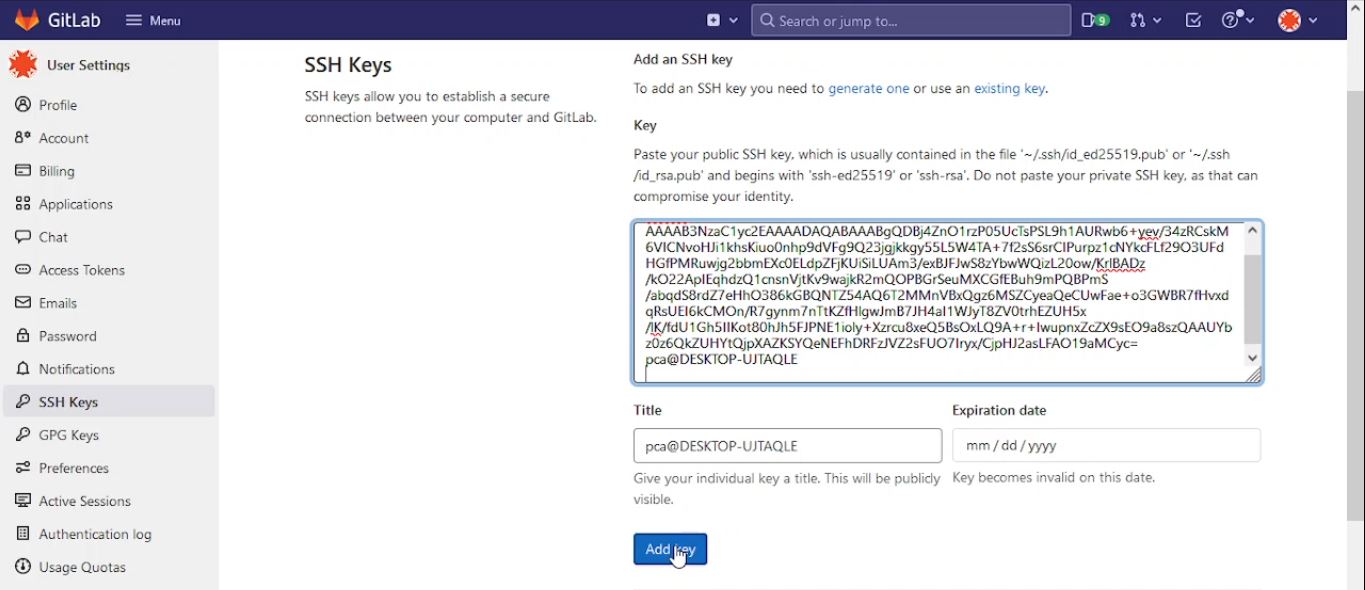
- Then into the SSH Key tab from the right, paste the public key and mention any name for the key and click add key.
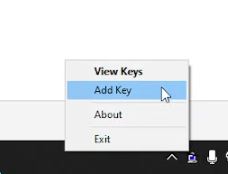
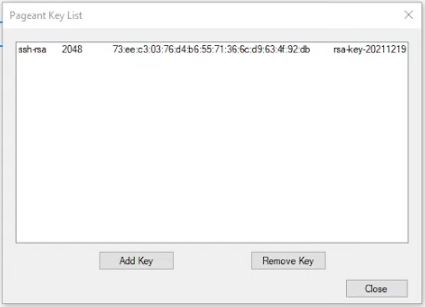
- As for the private key, after you open the source tree application you will find pageant on bottom left in the toolbar, right click on it and choose add key.
- Add the private key from that known location.
A- Fork
There are 2 ways to create a website: 1) from scratch 2) copy of ready template. So here I will discuss the second and easy way to a gitlab website given us in a student guide, it can be done to any other gitlab websites also.
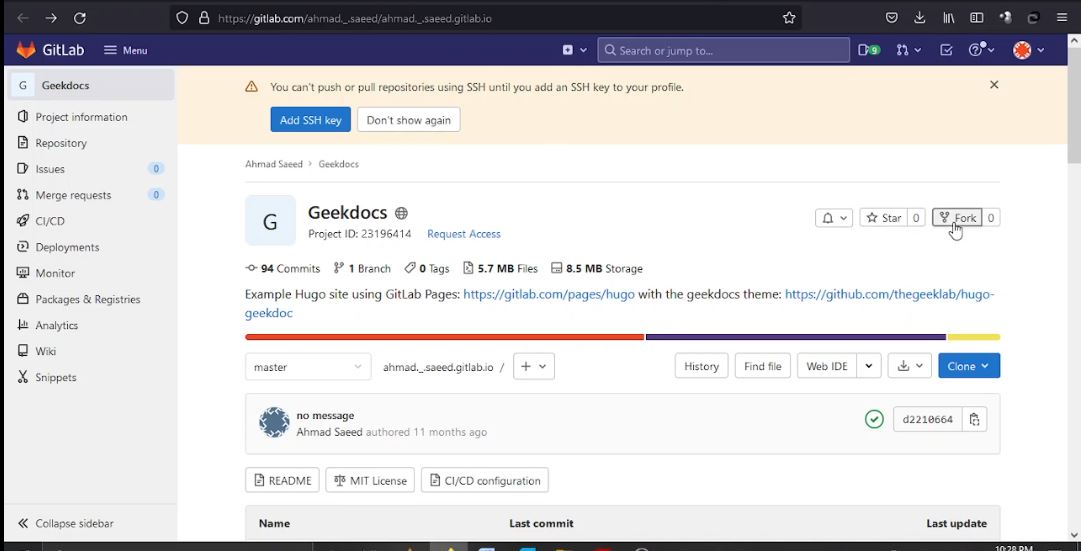
- First step: open that gitlab website and click on the fork tab top right of the page.
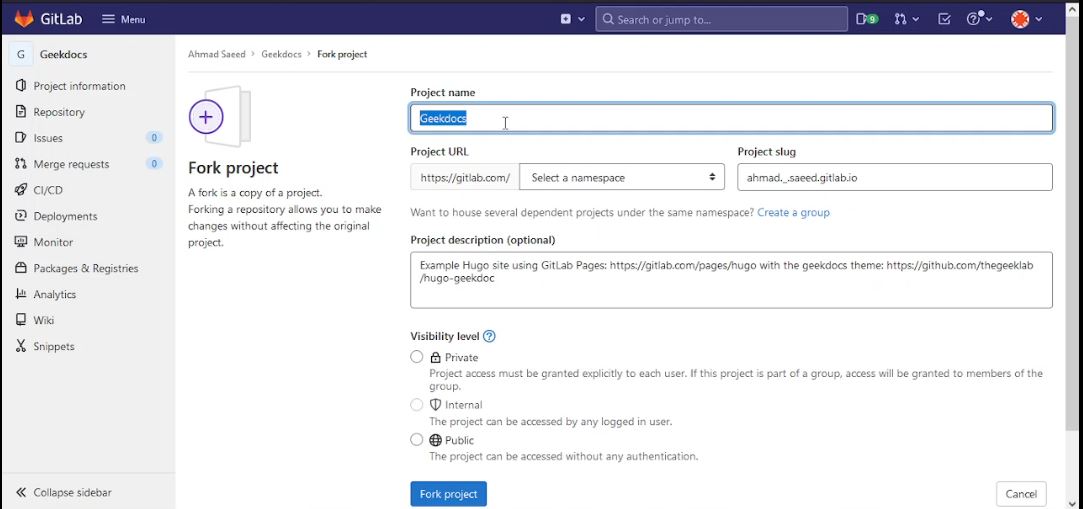
- Fill in some required information: new project name, choose your account at namespace, write the website name and choose the privacy settings either private or public according to your needs and click fork project.
for more information click here
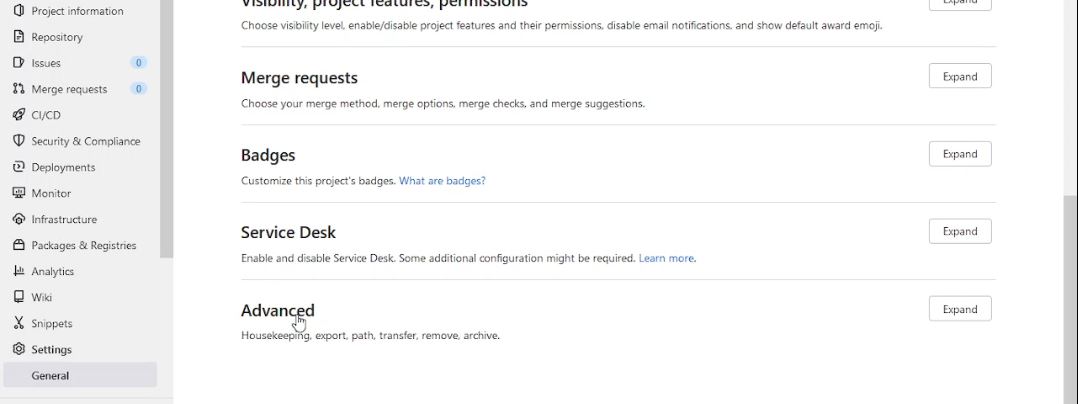
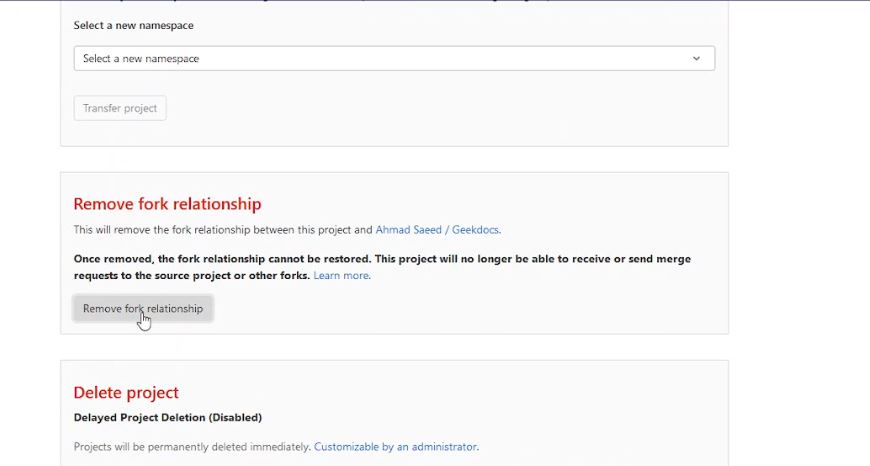
- Now! the project is successfully forked to the remote repository. We will have to cancel the relationship between the original project and the new one. So to do that in that project select Settings bottom left in the menu and then expand advance settings in the general tab.
- Scroll down till Remove fork relationship settings, select Remove fork relationship. It will ask for a confirmation by typing your username or website name given.
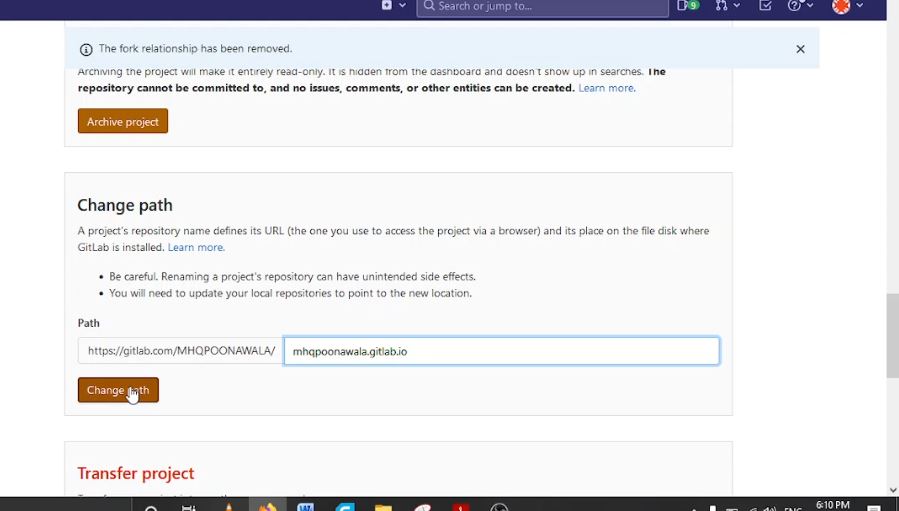
- Upon completion another path setting can be changed, which will help you to publish your website so you can access it using a domain. So scroll down till change path setting, write the new website path which u want to publish on and then click change path.
B- Clone.
Now as the remote repository is ready it is time to clone it on to the local repository.
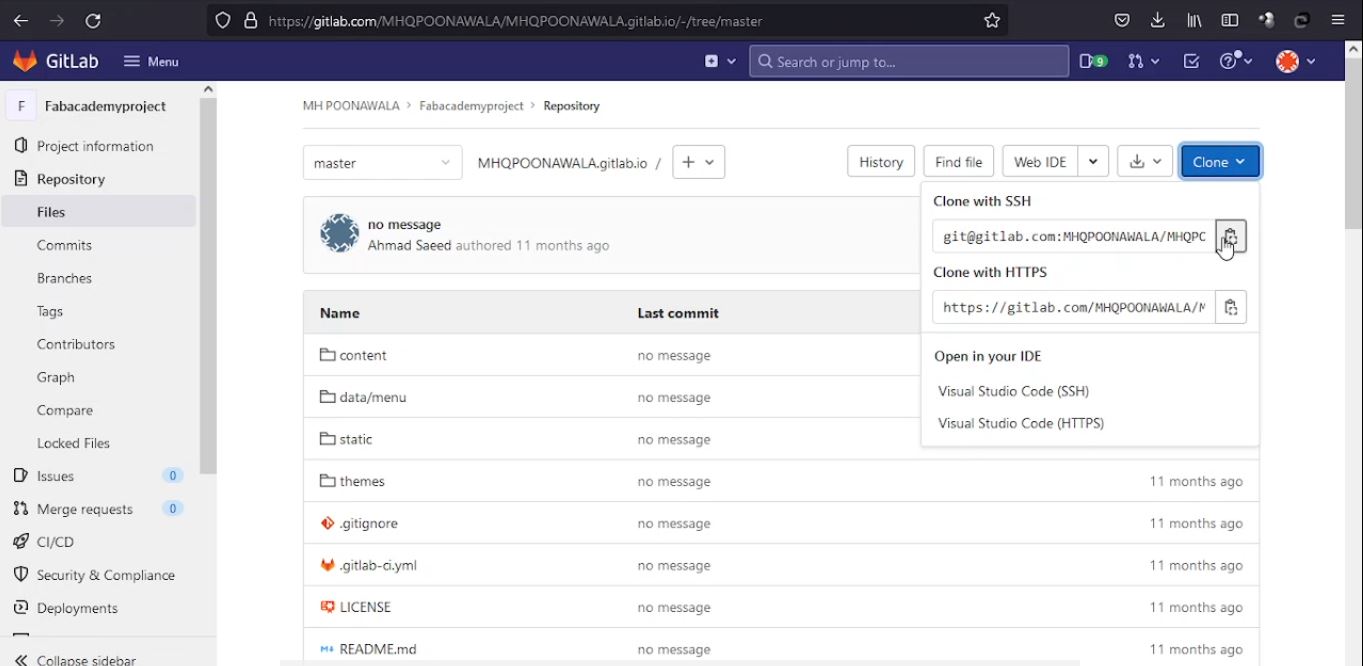
- To do that select the clone blue drop down button on the new home page of the new project and copy clone with ssh link.
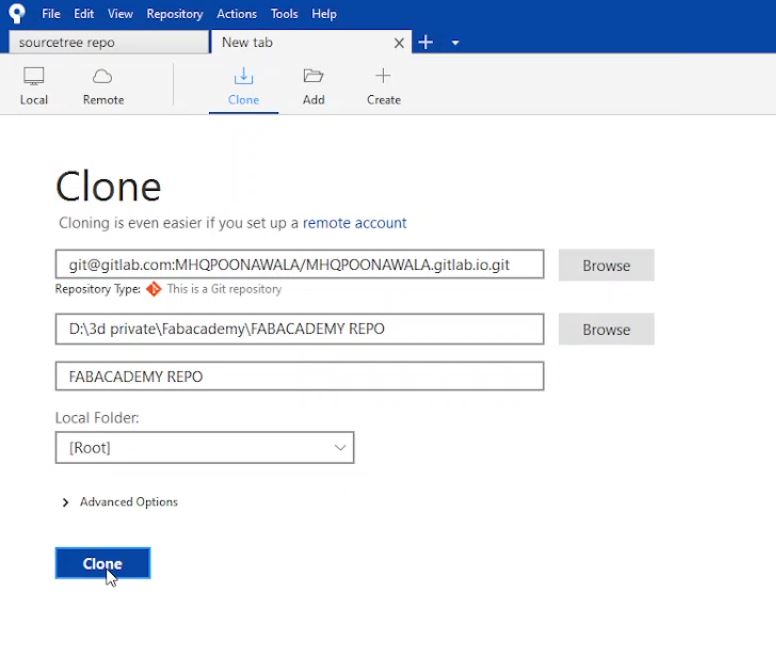
- Now open source tree application and click on clone from the top bar. Paste the copied link into the first empty field and choose in the second a local location where the repositories should be stored and then click clone. Voila!
Now it is time to edit our new website.
A- Editing and publish
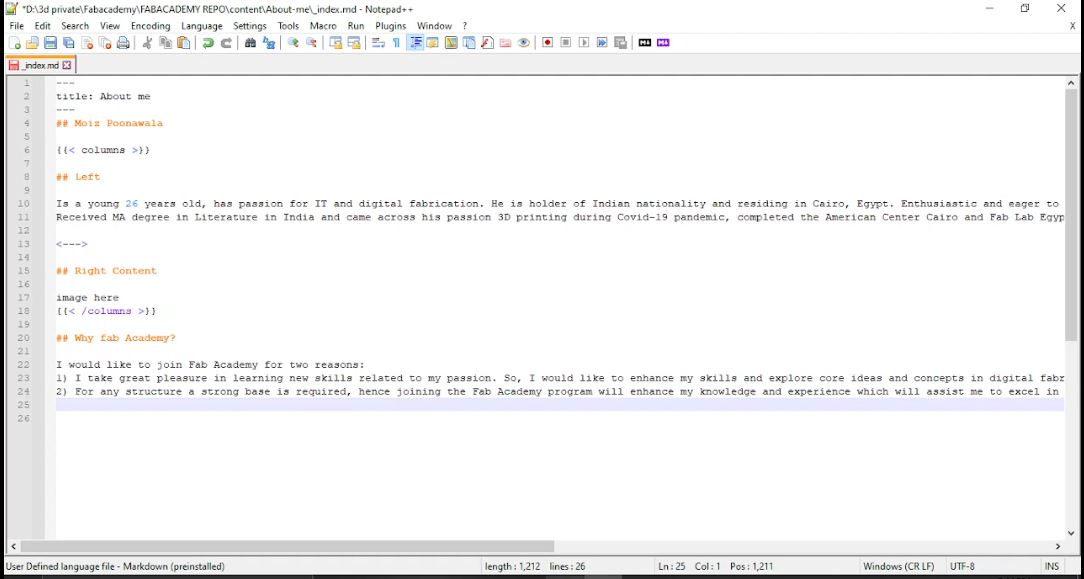
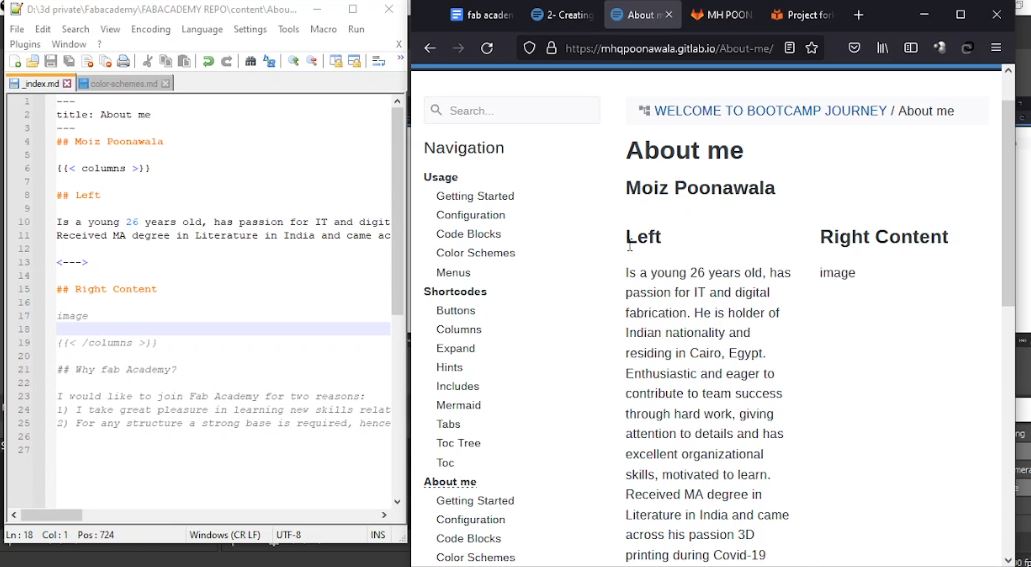
In this process Notepad++ comes in, as all the contents and codes can be edited and viewed by the markdown viewer plugin.
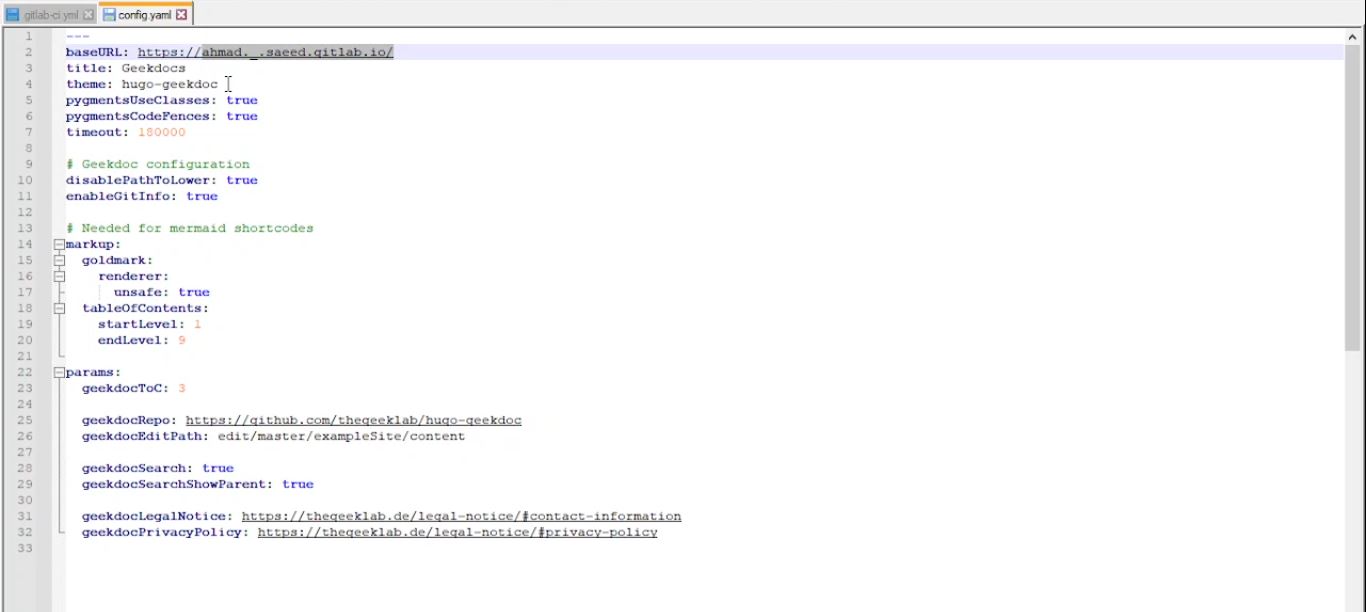
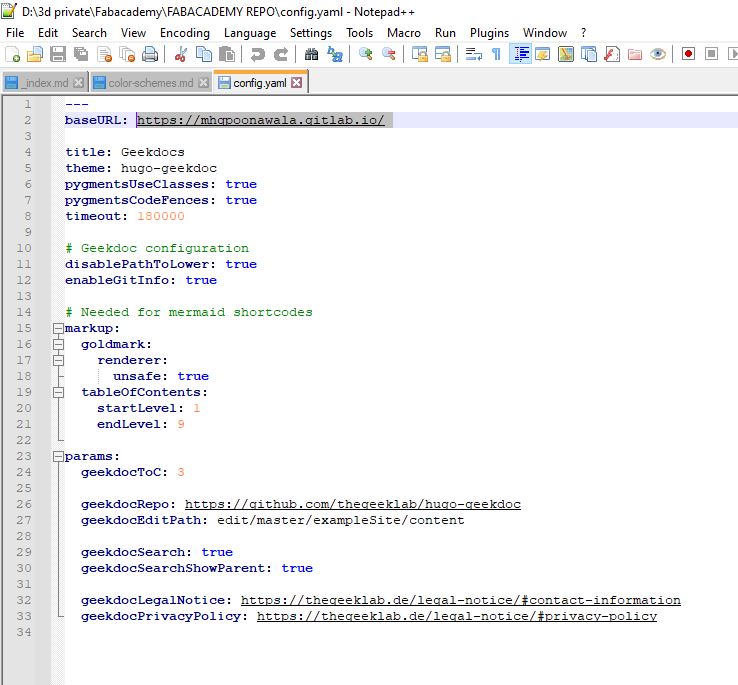
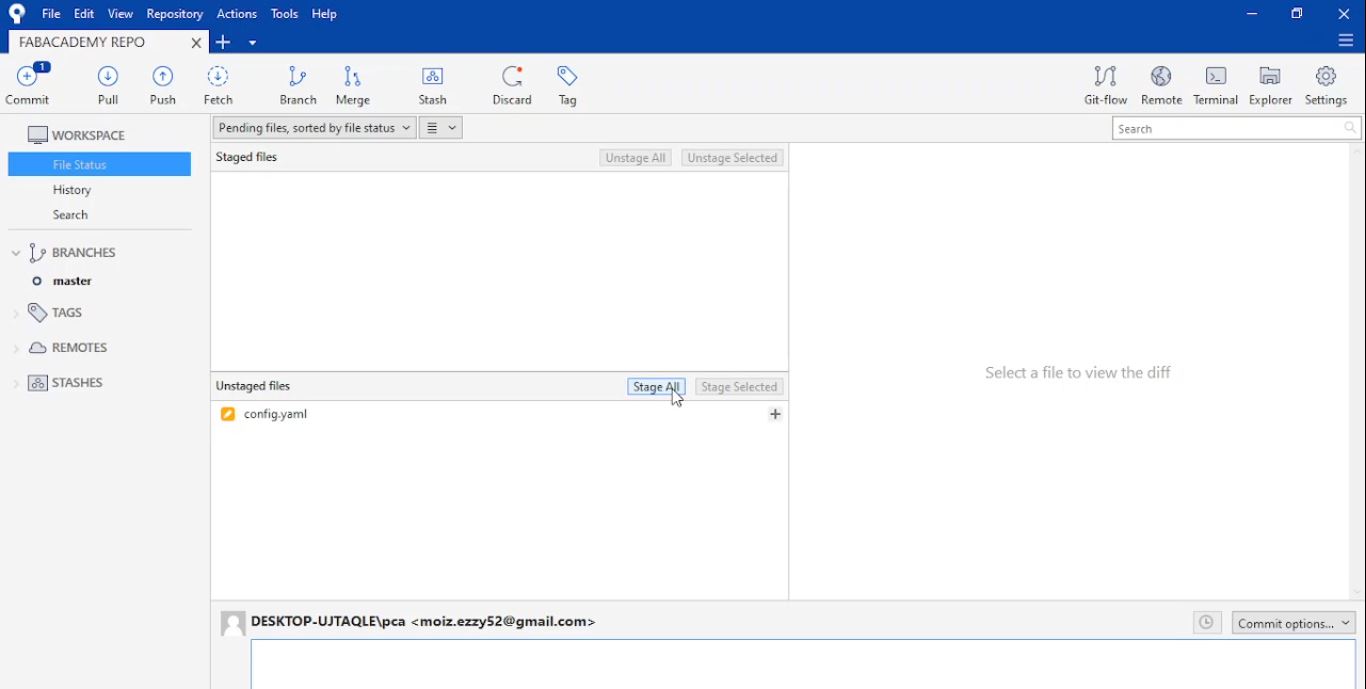
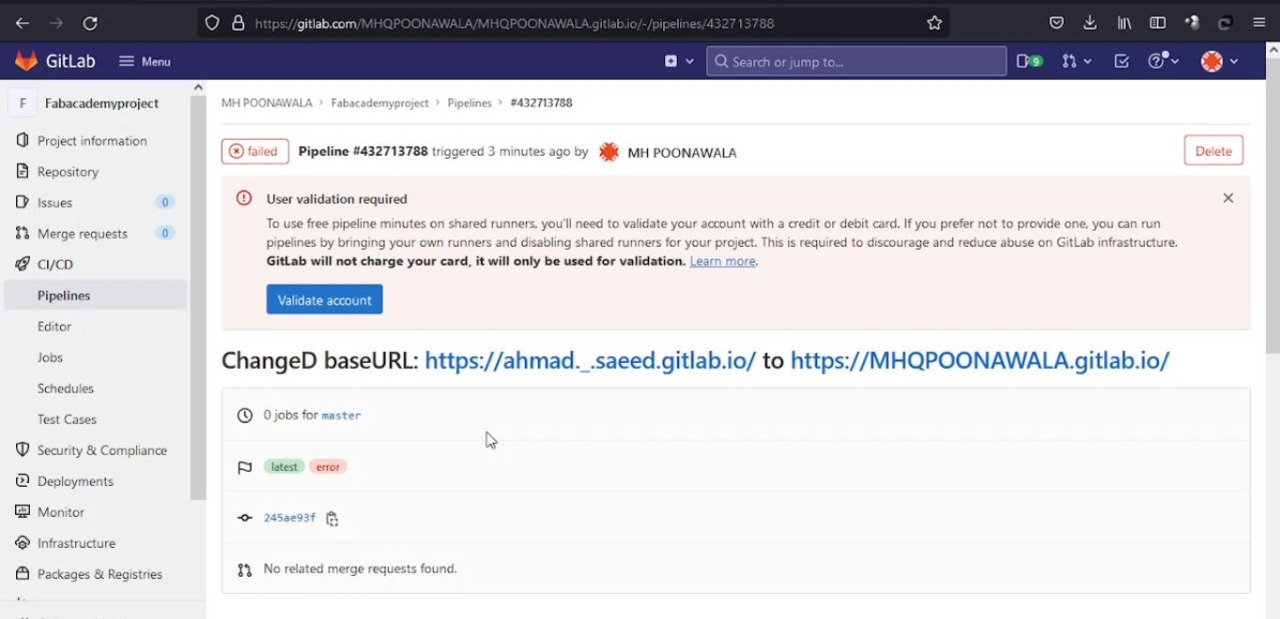
- Open the file needed to be edited in notepad++ example for the first push we will have to change the base url to your current website example i changed from https://ahmad._.saeed.gitlab.io/ to https://mhqpoonawala.gitlab.io/ in the config.yaml file.
- Various text images and color schemes also can be edited this way.
-
To bold text, add two asterisks or underscores before and after a word or phrase.
-
To italicize text, add one asterisk or underscore before and after a word or phrase.
-
To emphasize text with bold and italics at the same time, add three asterisks or underscores before and after a word or phrase.
-
To upload a photo to a web page, I have to write down the following line
[](/media/me.jpg)
for more information about markdown quick refrence visit cheat-sheet
- Each change you make in a file in Notepad++, you have to go to Sourcetree and stage them.
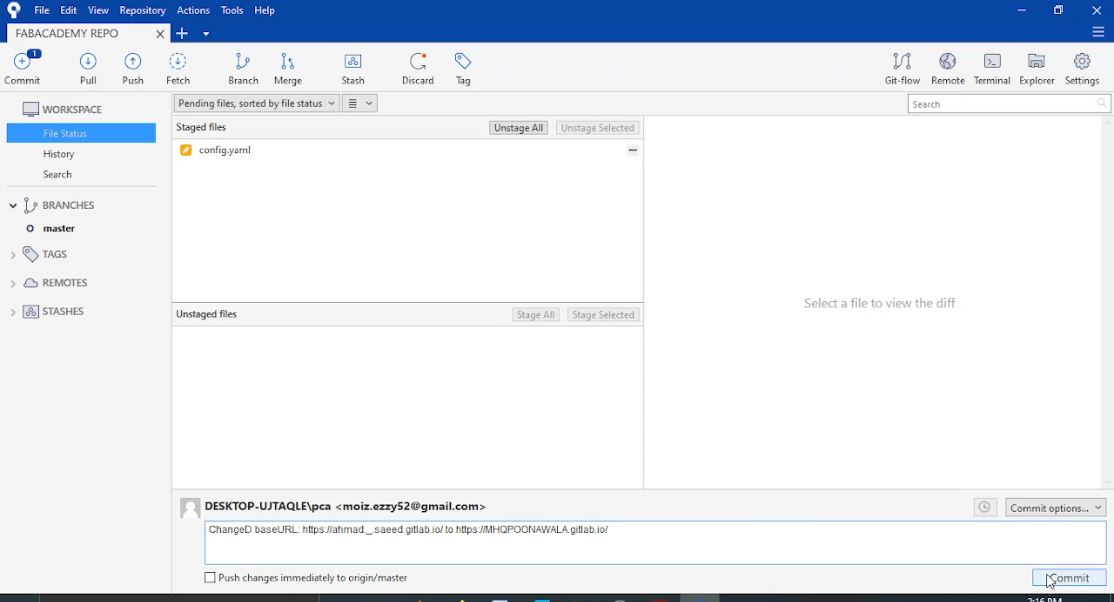
- Then commit all the stages. It is important to write down a message for each commit to remember the change you make.
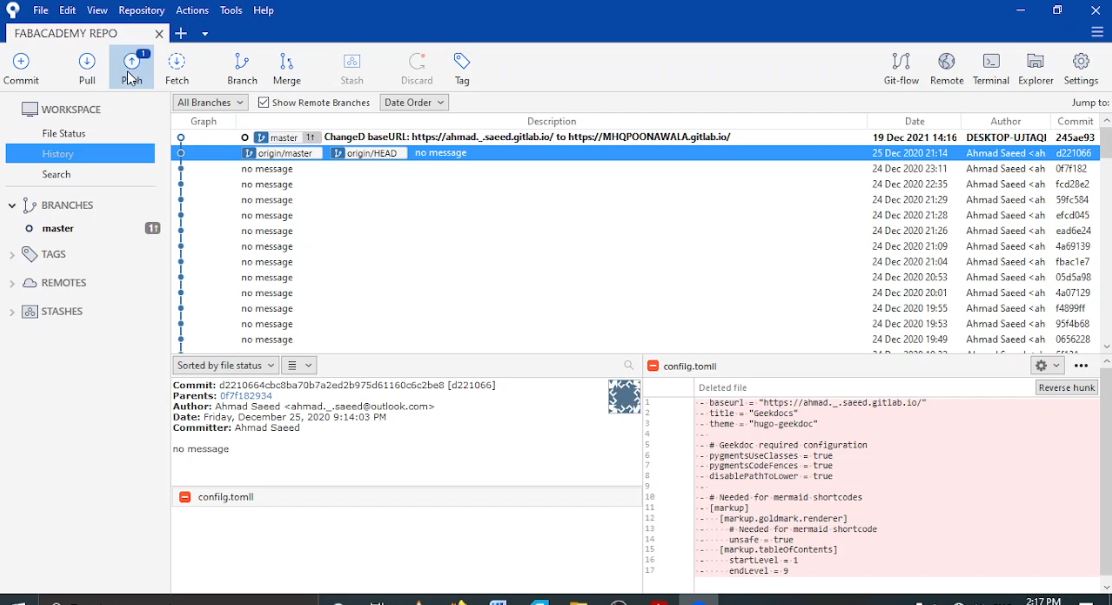
- Then push all the changes to upload them to the online website
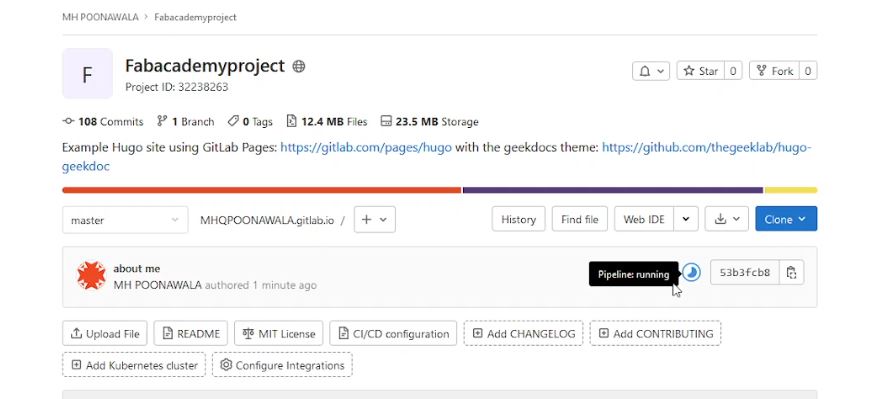
- Once successfully pushed the pipeline will run
- Done
B- Removing contents
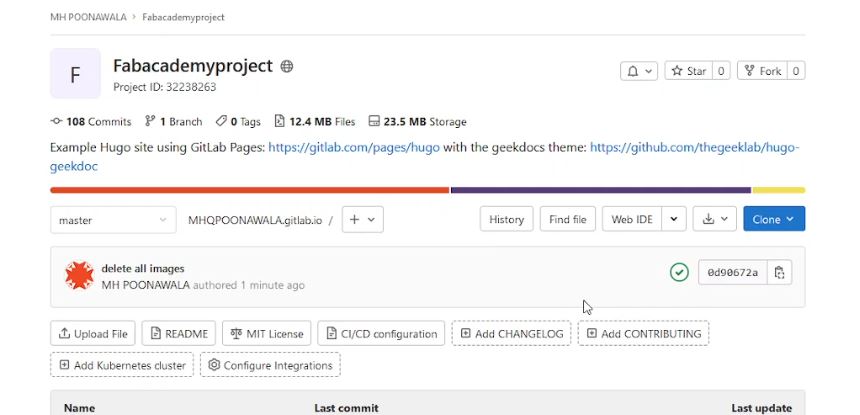
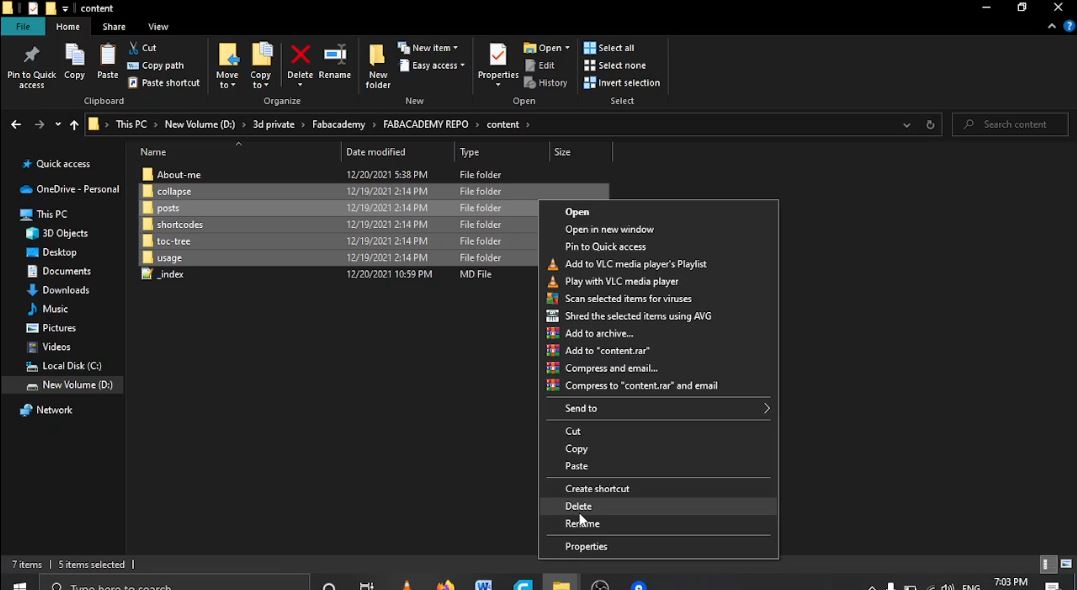
This is the easiest part as to remove any data or content just delete it from the repository folder and stage, commit and push it will make the changes right away. Example for this task i had to Clean the site: Remove all the example pages from the site. I had an issue only in 1 folder named post as it was linked by other untouched file so i kept that fold and its _index.md file n all other erased them.
Issue1: my first push pipeline was not working at all as my account was not validated yet..
Solution: After addressing this issue within the boot camp group sir kamel suggested validating it with a credit card which gives 2000 minutes CI free every month.(note for confirming gitlab charges 1 USD)
Issue1: only 3 photos were visible properly on the website and rest were just hyperlink text not visible on the website.
Solution: It took me 3 hours to figure out the minute mistake in the name of the picture between .jgp and .JPG :)
Issue1: While erasing other unwanted contents all together found error in pipeline.
Solution: Eventually i erased folder by folder to dectect which folder and where was the problem… so found out that folder named post had some refrence in other files that’s what the error was about.

